Google Cloud Storage Configuration
Using V7's external GCP integration, you can keep your data stored within a private Google Cloud Storage bucket.
Check out the diagram here to see how it works, and if you're ready to get started follow our step-by-step instructions below:
The GCP integration is available on V7's Business plan and above. You can find out more about what each plan includes on our pricing page.
Read-write & Read-only access
You have the choice of integrating your bucket in either a read-write or read-only fashion. At a high level the differences are:
- Read-write allows V7 read & write access to your bucket. This is necessary to generate image thumbnails and extract frames from video files. Thumbnails and frames are written back to your bucket in a predictable structure at a location of your choice
- Read-only restricts V7 to only being able to read data from your bucket. In this scenario, you'll have to pre-extract thumbnails and / or video frames as necessary and make them available in your bucket. More details about this are available here.
1: GCP Bucket Permissions
The first step is to grant V7's GCP Service Account the necessary access to your bucket.
For read-only configuration, it's necessary to grant the objectViewer role using the following gsutil CLI command:
# gsutil command for read only
gsutil iam ch serviceAccount:external-storage@darwin-storage.iam.gserviceaccount.com:objectViewer gs://external-bucket-name
For read-write configuration, it's necessary to grant the objectAdmin role using the following gsutil CLI command:
# gsutil command for read write
gsutil iam ch serviceAccount:external-storage@darwin-storage.iam.gserviceaccount.com:objectAdmin gs://external-bucket-name
2: CORS Access
This can be only be configured with gsutil or GCP APIs:
cat > gcp_cors.json<< EOF
[
    {
      "origin": ["https://darwin.v7labs.com"],
      "method": ["GET", "PUT"],
      "responseHeader": ["*"],
      "maxAgeSeconds": 3600
    }
]
EOF

gsutil cors set gcp_cors.json gs://external-storage-bucket
3: Activation
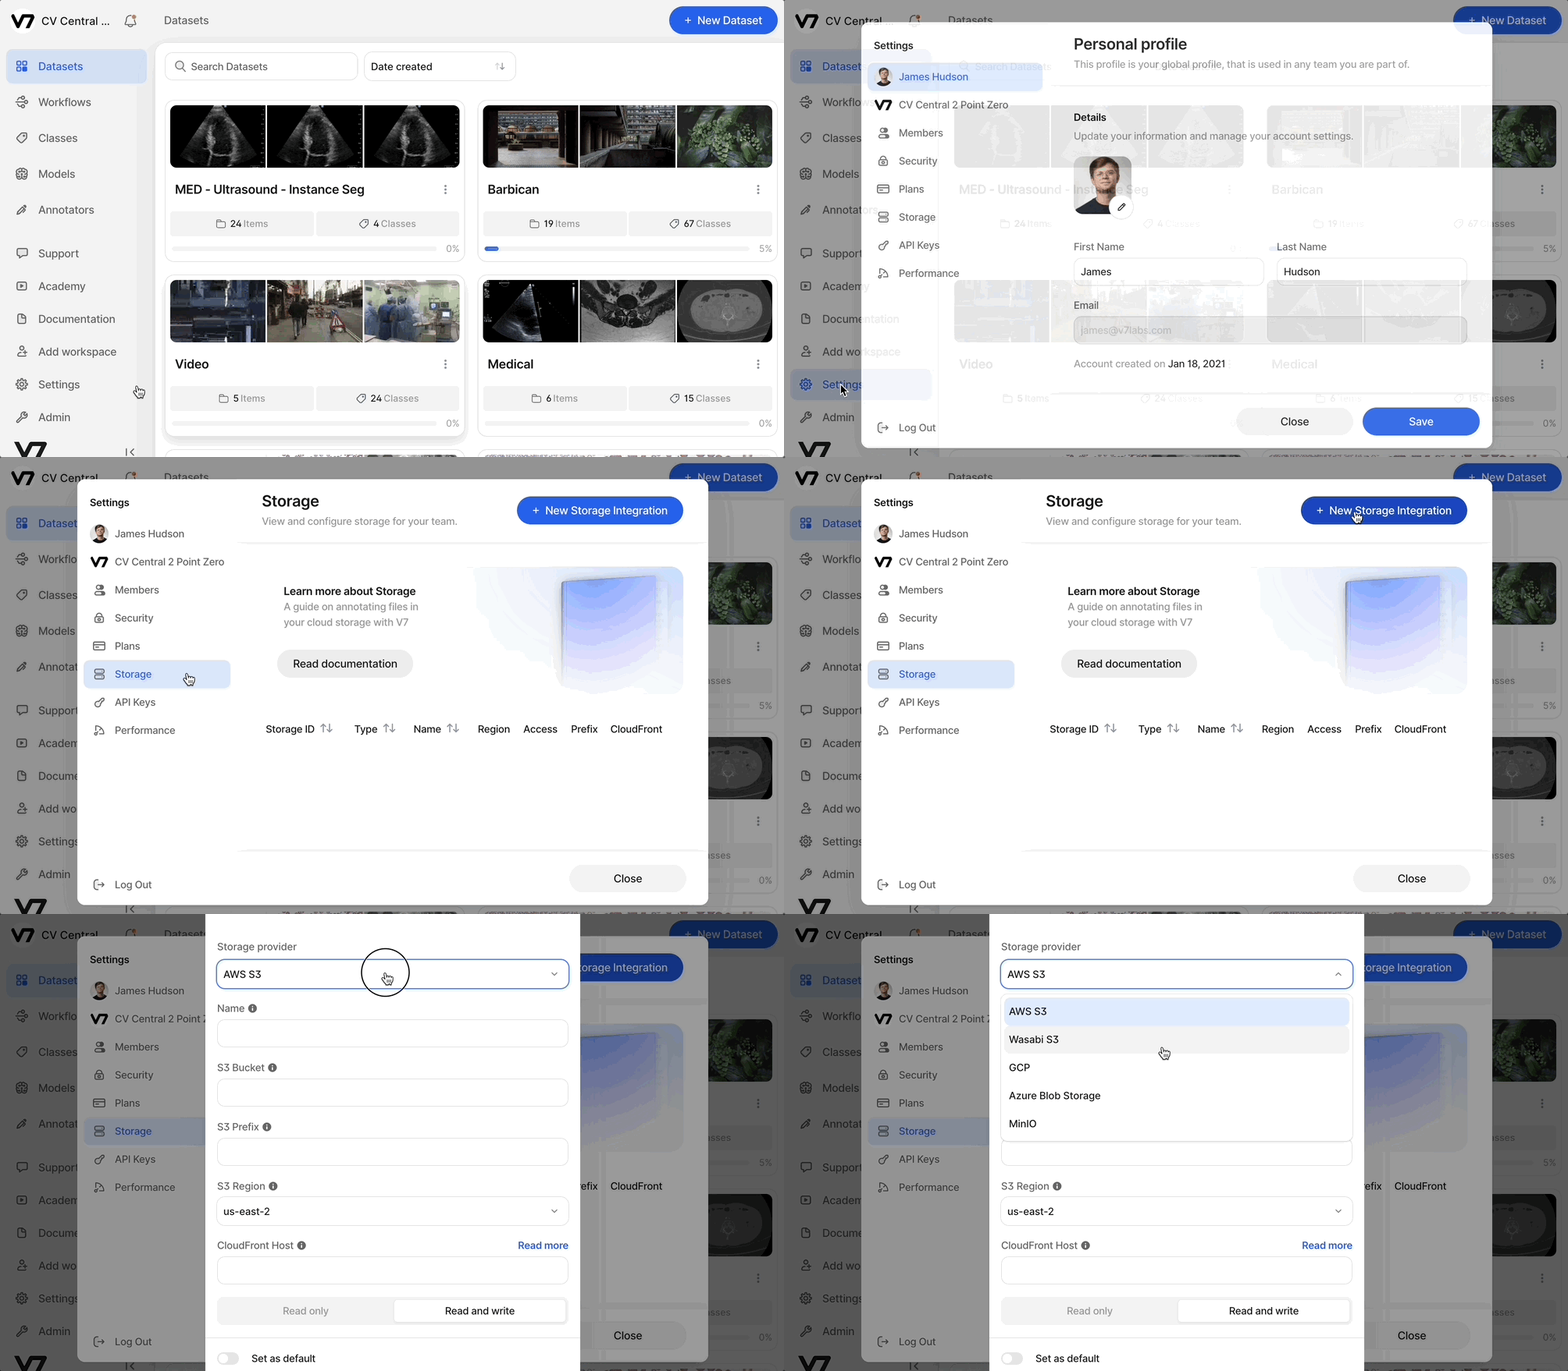
Finally, to activate your external storage, log into Darwin and navigate to Settings > Storage > New Storage Integration. Populate all relevant fields and select Save:
- Storage provider: GCP
- Name: The name you will refer to your GCP bucket connection as. This will be the name you use when registering external items. We strongly recommend setting it the same as your GCP bucket name
- Bucket: The exact name of your GCP bucket. For example if your bucket is
gs://bucket-name, this should be set tobucket-name - Prefix: If using read-write storage, an optional directory in your bucket where image thumbnails and video frames will be written to. If left blank, they will be written to the base of your bucket under
/data

Additional Storage Integrations
If your subscription includes additional storage integrations, these can be added by going to your Settings > Storage and adding the details above to a New Storage Integration.
These can be added without speaking to our Support team although we encourage you to speak with us if you have any questions.
If you encounter any issues or have any questions feel free to contact us at support@v7labs.com
Updated 10 months ago
After connecting your bucket, you're ready to register data in V7
