Create a Dataset
Press the "New Dataset" button, either on the top right or on the last card on the dataset page.
You will be guided through a quick tour to set up your dataset.
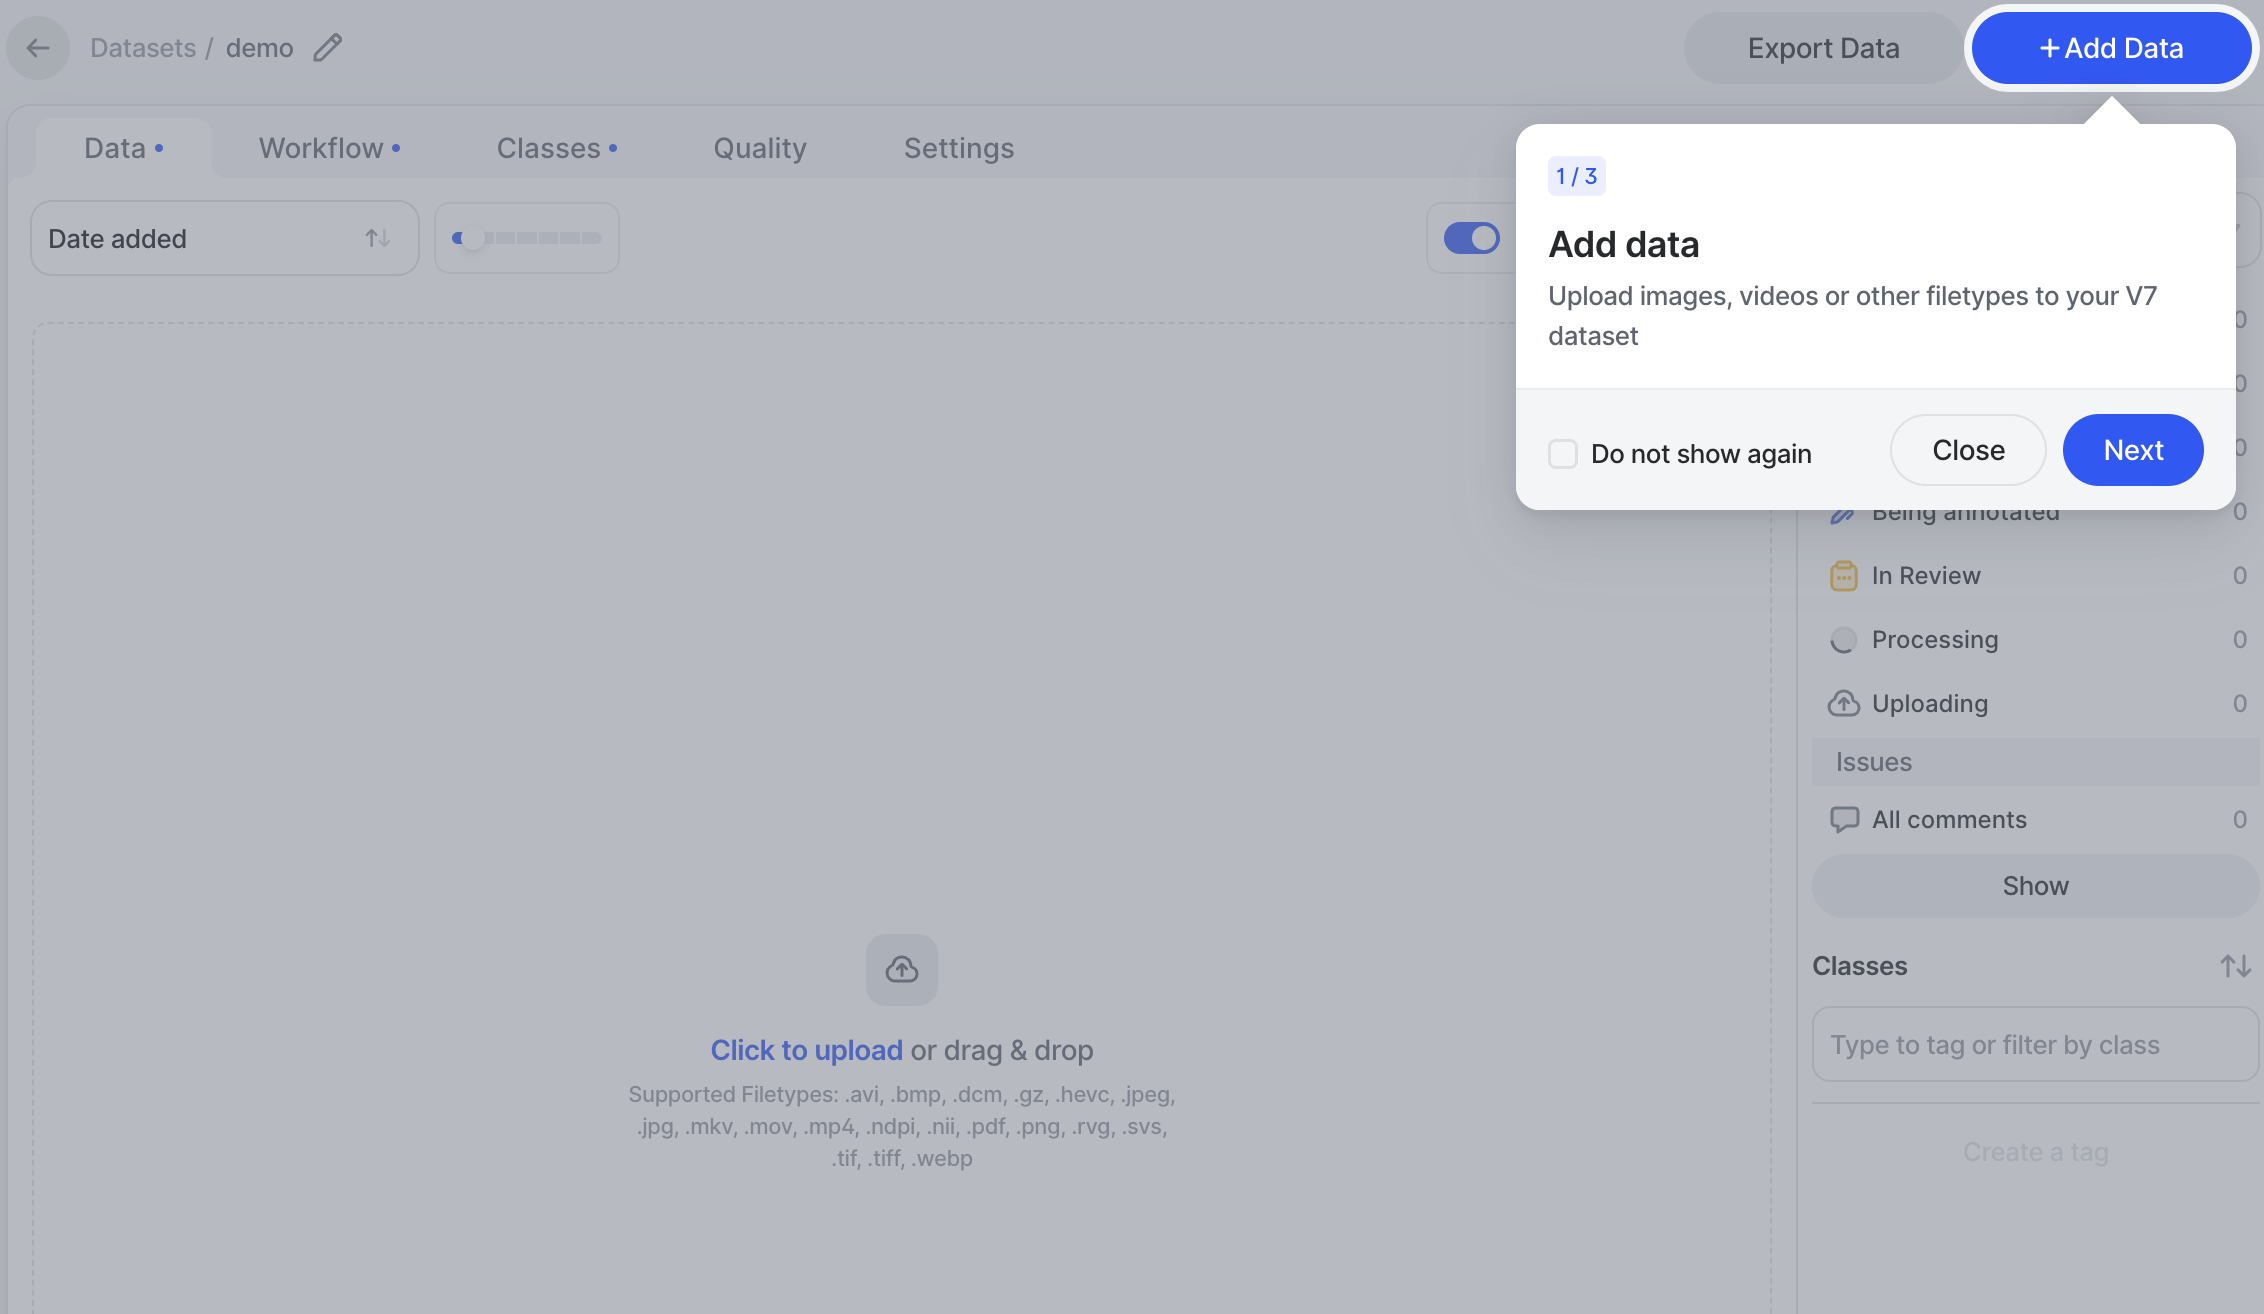
Stage 1 involves naming your dataset and uploading data. If you have fewer than 2,000 images to work with, feel free to drag and drop them. If, instead, you are working with more or several (10+) heavy videos, we strongly recommend using the CLI commands provided. You can find more info on uploading via the API here.
You can also read about supported file types. We strive to support as many imaging modalities as the computer vision community needs, so if you believe your file format of choice isn't supported and you'd like to see it natively imported, please let us know.
🚧 Upload LimitsInternet browsers aren't made to upload many files at once. To ensure that your uploads don't fail half way, try using the CLI.
Through the browser, we recommend limiting yourself to the following batches:
- 2,000 images if under 5mb
- 1,000 images if under 10mb
- 25 videos if under 1,000 frames (30 seconds at 30fps).
Uploads will still work at higher quantities, but we can't guarantee a stable performance across all browsers.
In stage 2, you may define the classes and instructions for your dataset. Classes are the names of objects you want to give to the items you wish to identify. They can be represented as several annotation types (bounding boxes, polygons, tags, etc.).
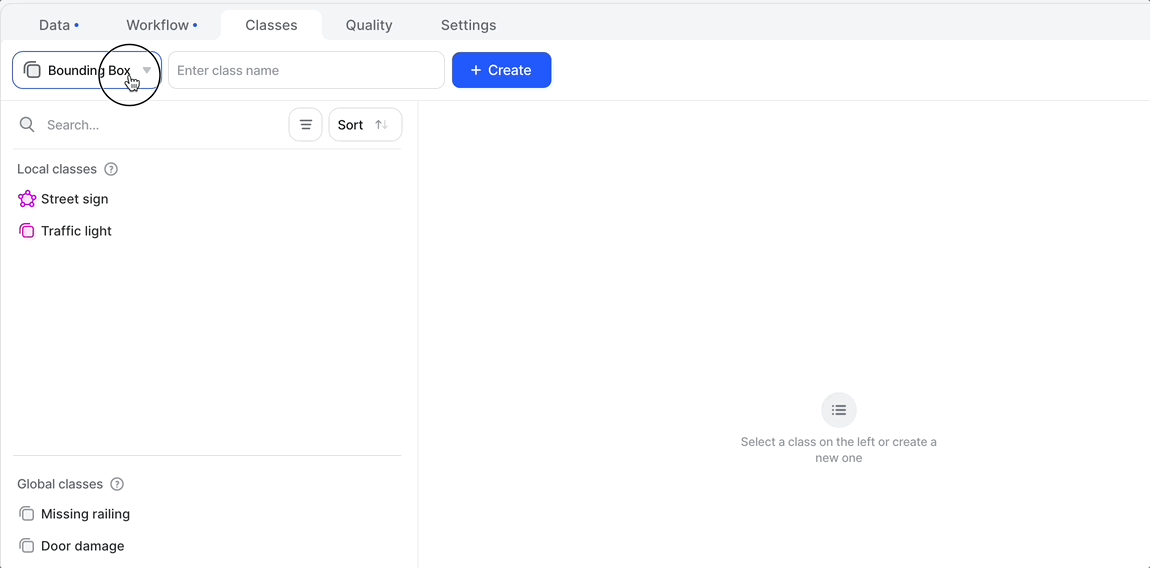
You can edit these at any time in the future, so don't worry about adding all the info you need now. You can also include and exclude them from a specific dataset, as shown below.

Instructions will be presented at the start of any task sent to users or workers. You may edit these as you go and encounter edge cases to include as instructional material.
In stage 3, you will be prompted to configure the dataset's workflow. Check our full guide here for instructions on setting up your team's workflow. The automatically generated workflow we start with involves Dataset > Annotate > Review > Complete.
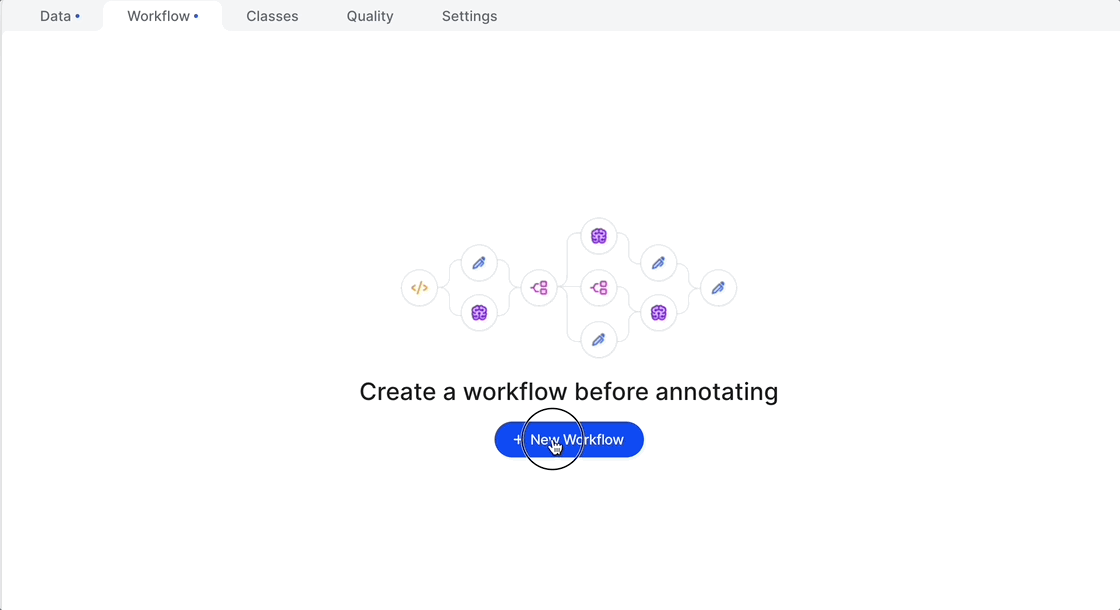
You can then edit the workflow by dragging and dropping different stages from the right-hand toolbar.
Updated 1 day ago