Channel Labeling Guide
Introduction
This article will help you get started with Channels, a powerful tool designed to enhance your labeling experience by allowing you to overlay and cycle through multiple channels. Channels are useful for various use cases, including:
- Microscopy: Analyze various stains or fluorescence channels to identify and annotate specific structures or features.
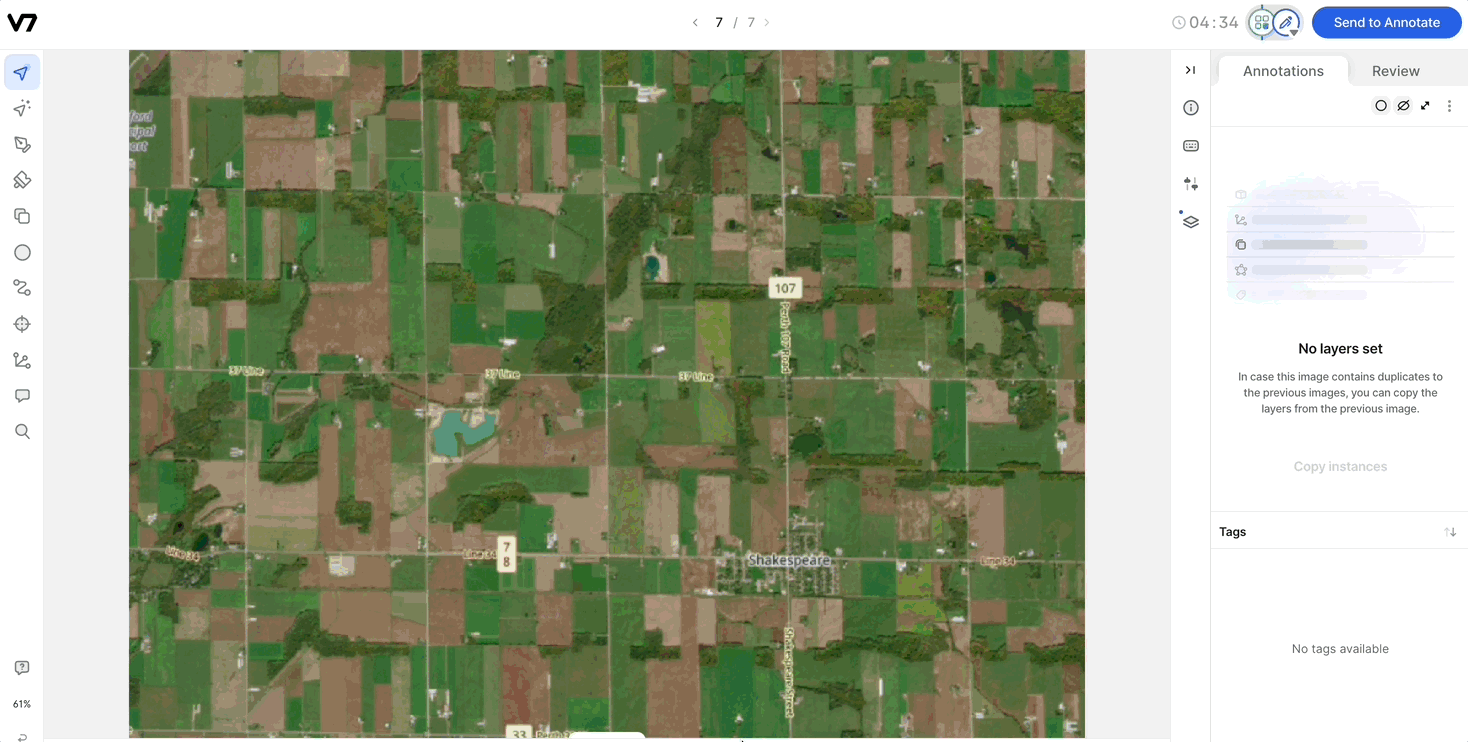
- Remote Sensing: Combine data from different spectral bands for a comprehensive analysis and annotation of regions of interest.
- Defect Detection: Identify and annotate defects in manufacturing processes or materials.
By the end of this guide, you will be able to import channel files, import annotations to channels, and utilize the advanced labeling features provided by Channels to improve your annotation workflow.
Labeling Experience and Features
The Channels feature provides a seamless labeling experience with the following capabilities:
Overlaying Channels: Channels are overlaid to give you a comprehensive view of your data.
- Cycle Through Channels: Use the channels sidebar menu or the hotkey
Tto cycle through different channels. - Shared Annotations: Annotations are shared across layers, enabling you to use information from different channels to produce the best annotation.
- Zoom Preservation: If you zoom on one channel, the zoom level is preserved as you cycle through other channels.
Compatibility with Auto-Annotate and SAM: Channels are compatible with Auto-Annotate and SAM, and the models will run on the visible channel.
Importing Channel Files
To import channel files, you must use the API. You can import files either from local or external storage using the slots concept. Detailed information on slots can be found here. The current version of the API requires you to use individual files for each of your channels, as we do not extract channels from complex files (e.g. TIFF).
When importing channel files, the payload must adhere to the Set Layouts API version 3. You can find more details about the Set Layouts API here.
Below is an example payload for importing channel files:
payload = {
    "items": [
        {
            "layout": {
                "version": 3,
                "slots_grid": [[["channel-name-1", "channel-name-2", "channel-name-3"]]]
            },
            "path": "/",
            "slots": [
                {
                    "file_name": "your-file-name",
                    "slot_name": "channel-name-1"
                },
                {
                    "file_name": "your-file-name",
                    "slot_name": "channel-name-2"
                },
                {
                    "file_name": "your-file-name",
                    "slot_name": "channel-name-3"
                }
            ],
            "name": "what-you-want-the-grouped-item-to-be-called-in-v7"
        }
    ],
    "dataset_slug": dataset_slug,
}
Importing Annotations to Channels
When importing annotations to channels, you should specify the ‘base’ channel as the one you want to upload the labels to. In the example above, the base channel is “channel-name-1”. Once the base channel is specified, you can use darwin-py for your annotation upload.
Here is an example of how to upload a "cat" tag to the base channel named "channel-name-1".
  "annotations": [
    {
      "id": "d5079ea4-1231-419f-bb58-895c89f78cb0",
      "name": "cat",
      "slot_names": [
        "channel-name-1"
      ],
      "tag": {}
    }
Exports
Channels export to Darwin JSON in the same style as Slots. The annotations are associated with the base channel, but all the relevant channels are listed at the top for your reference.
Updated 9 months ago