Image manipulation
Tucked way behind the Annotations menu, the image manipulation panel allows you to adjust the visual settings of any file in V7 and its annotations.
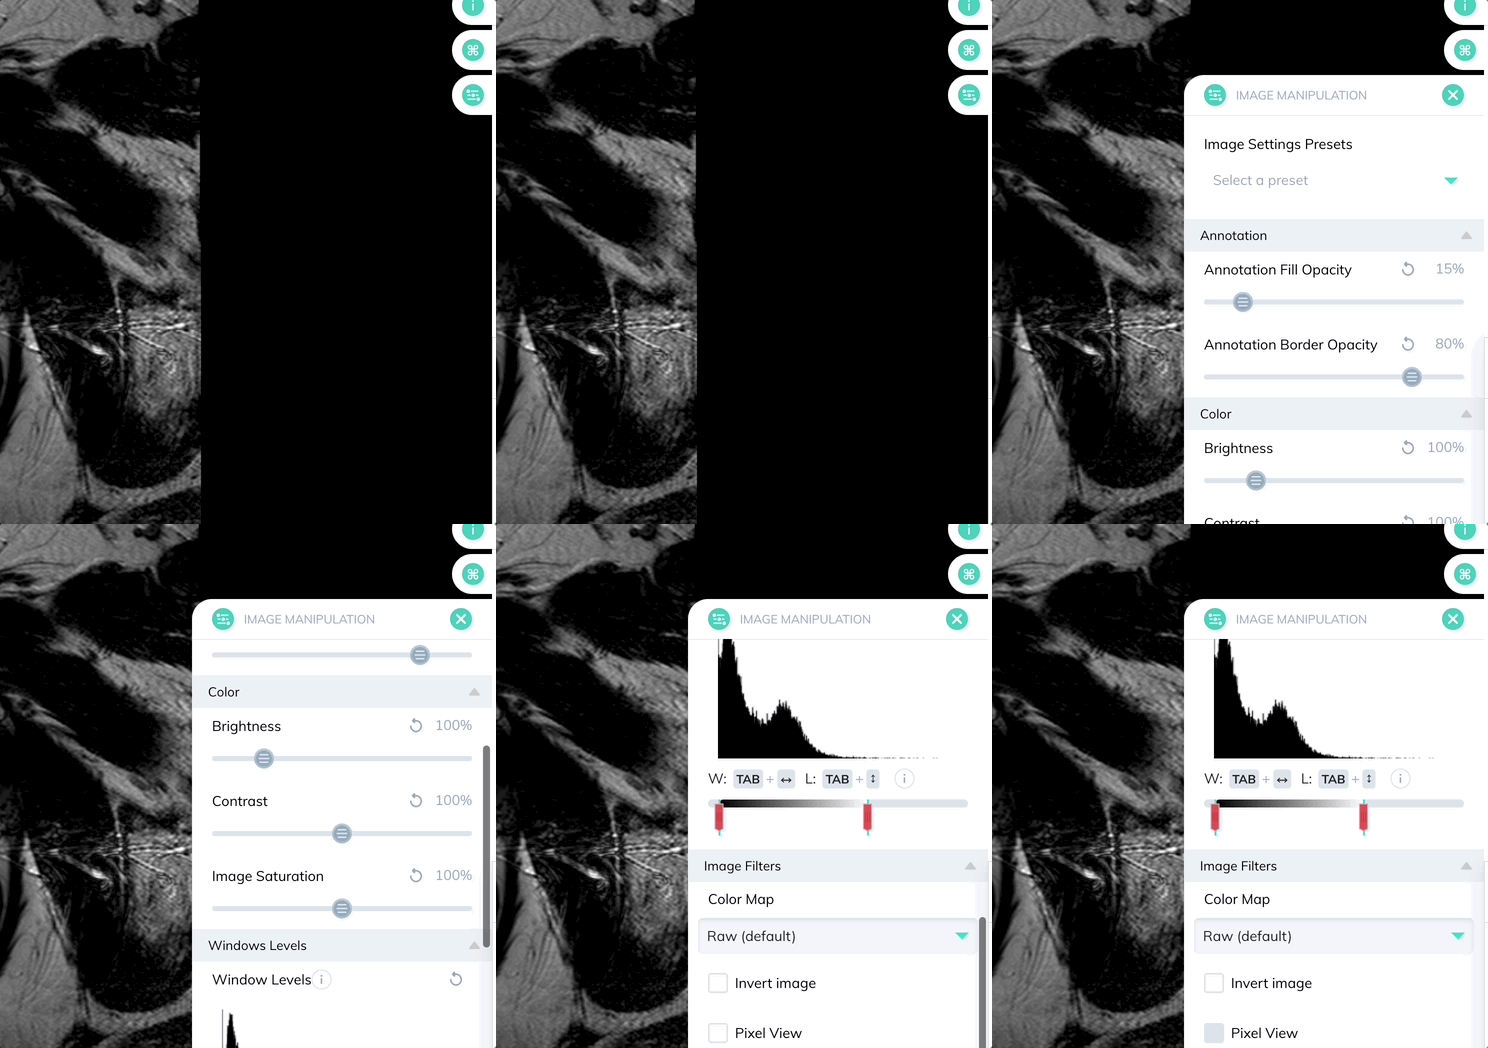
From the image manipulation tab, you can adjust the fill and border opacity of your annotations, invert files, and adjust their brightness, contrast, image saturation, color map, and windowing.
None of the changes you make will change the properties of the source file, and all adjustments can quickly be reversed to their defaults:
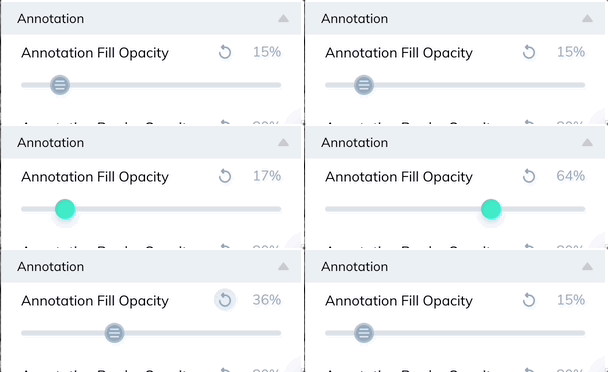
Image Settings Presets
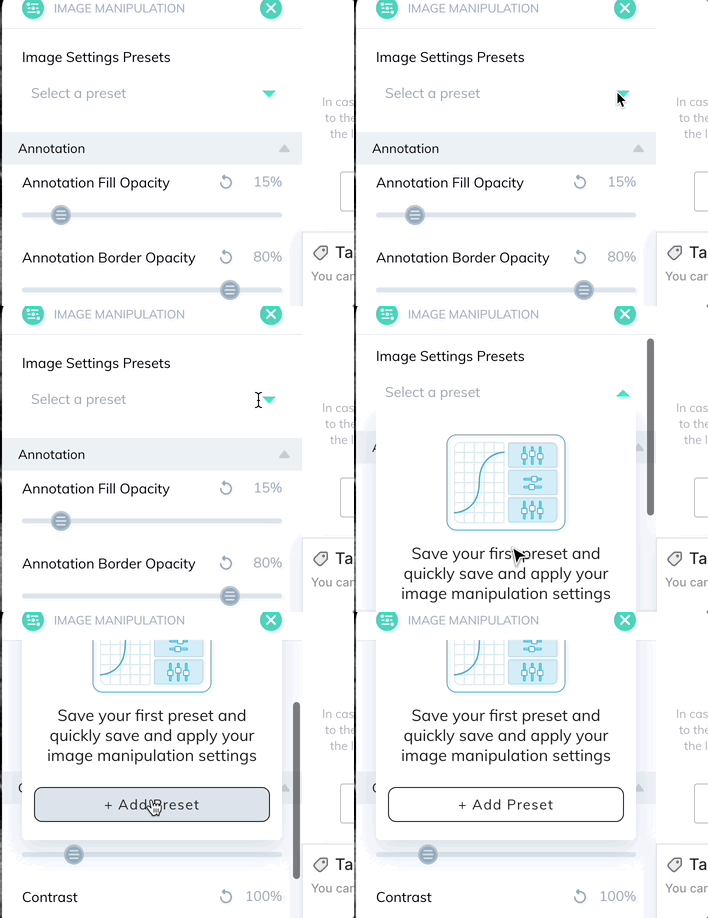
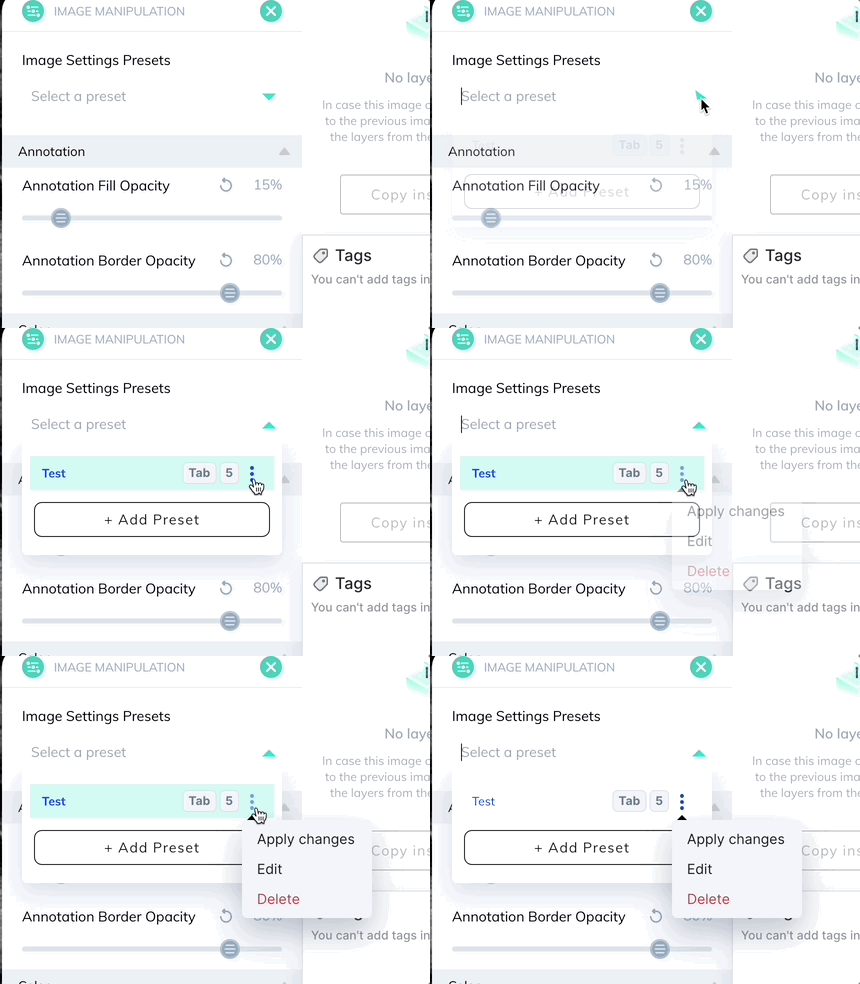
If you've got your image manipulation settings right where you want them, you can save any combination of settings as a Preset. Presets open up the ability to quickly set saved settings like windowing levels with a keyboard shortcut.
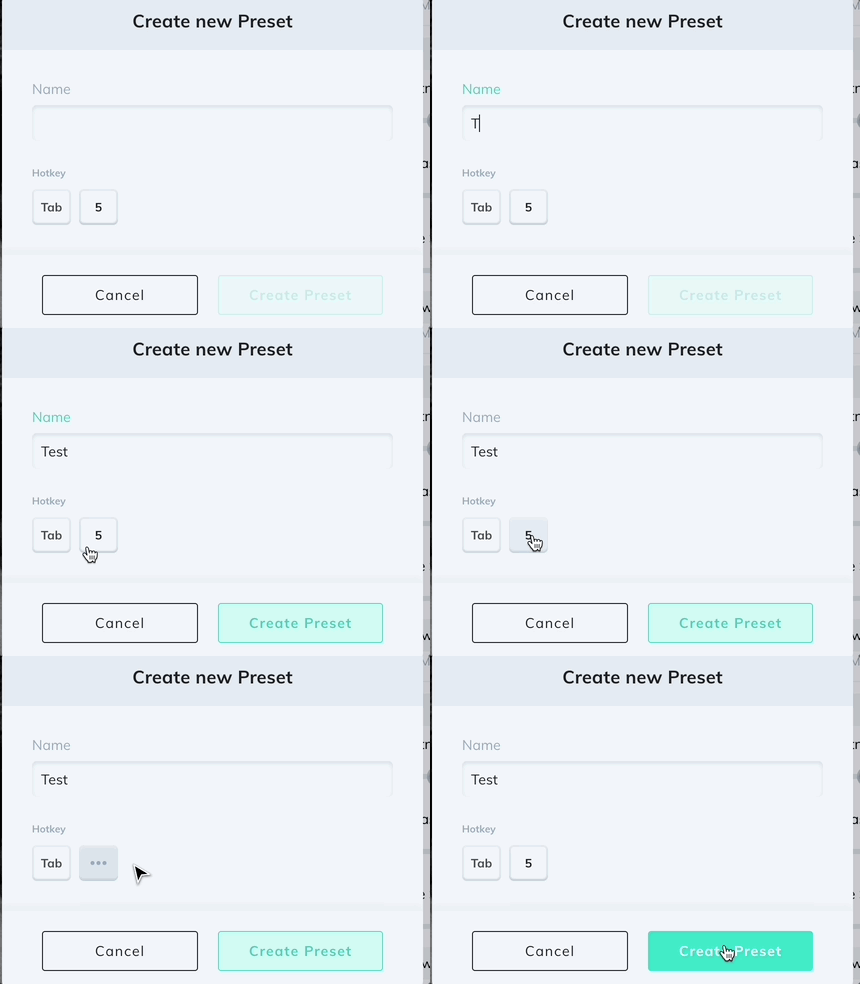
To create a preset:
Get your settings how you'd like them, and open up the Image Settings Presets dropdown.
Name your preset, and add a hotkey before clicking Create preset.
You can edit or delete your preset at any time. Change the settings and click Apply changes to edit the settings themselves, or hit Edit to change the name and hotkey of the preset.
Tips & Tricks
- When labelling with polygons, adjust Annotation fill opacity to 100% to get a preview of how the annotations will appear when exported as a .png semantic mask.
- To adjust window levels without opening the image manipulation tab, hold
Taband move your cursor up and down or side to side. - If your use case involves objects with difficult-to-identify contours, adjust the file's contrast, color map, or windowing to make them more easily distinguishable.
Updated 5 months ago
