Scan text automatically
Explore V7's Text Scanner Model
We've added a public Text Scanner model to our Models page to help you detect and read text in your images automatically. In this guide, we'll take a quick video tour of how to use the feature, followed by step-by-step instructions for setting up your own text scanner.
Getting started
Before we can start effortlessly pulling text from images and documents, we'll need to get two quick setup steps out of the way:
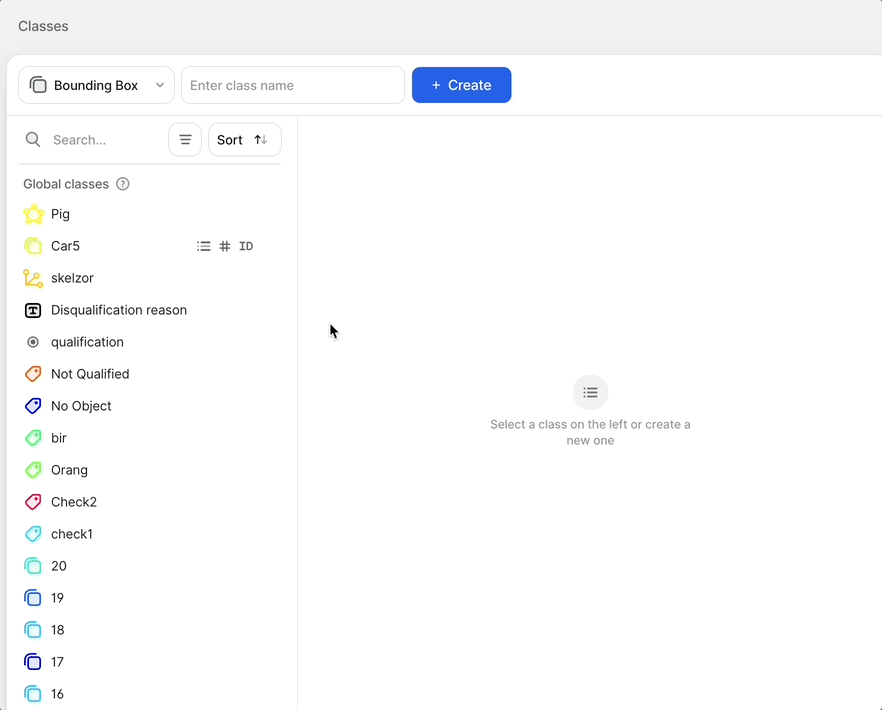
- Create a new bounding box or polygon class that contains the Text subtype in the Classes page of your dataset. You can optionally add an Attributes subtype to distinguish between different types of text.
Class typesThe text scanner model can only be mapped to bounding box and polygon classes.
- Drag and drop a Model stage into your dataset's workflow. Select Text Scanner model from the dropdown list, and map your new text class. Select Auto On/Off to automatically turn on the text scanner model as soon as files enter the model stage.

That's it! Now you're ready to kick back and let the model detect and read text so you and your team don't have to.
Text scanner will detect and read text on any kind of image, whether it's a document, photo, or video. As it is extensively pre-trained, it will be able to read characters that humans may find difficult to interpret.


Languages Supported: All
Alphabets supported: Latin, Cyrillic, Japanese, Chinese (Simplified)
Orientations supported: Rotated, curved, skewed text.
Fonts supported: All, including handwritten text
To add more automation to your labelling workflow check out this guide on how to train a Neural Network in V7, and this guide on how to use Neural Networks to automatically label your data.
Updated 10 months ago