Auto-Annotate
Auto-Annotate takes advantage of a deep learning model to automatically segment items and create pixel-perfect polygon masks. It's designed to save you a tonne of time, and in this guide we'll explore a few tips and tricks to save you even more.
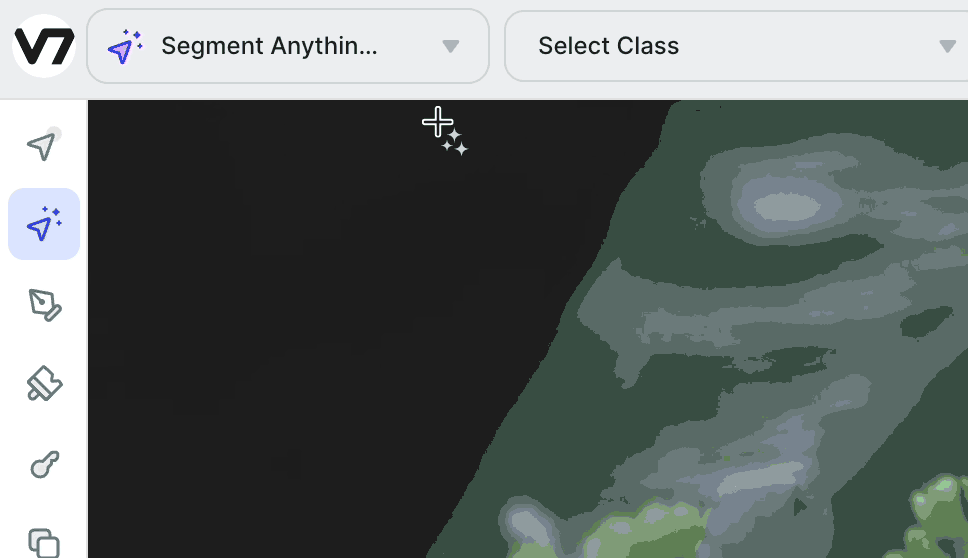
Equip Auto-Annotate
By default, clicking the Model Tool in the workview will equip the Segment Anything Model (SAM). You can switch to Auto Annotate by selecting the Generic Auto-Annotate model from the models dropdown.
The basics
Define a rough bounding box around the entirety of the object that you would like to segment. Make sure to leave a bit of padding around the object, and Auto-Annotate will locate the most salient object in that boundary.
.gif")
Hit Enter on your keyboard to save your annotation
Add and remove sections
The quickest way to add to or remove sections of polygons created with Auto-Annotate is to use the built-in click-to-correct feature.

This can be done immediately after the polygon mask is created, before you've hit Enter, or later on by clicking the edit icon in the polygon's centroid.
Where to click to include or exclude regions?The neural network behind Auto-Annotate assumes you are trying to click in *the middle of the object part you want to include or exclude. Clicking on the edge will also work, but sometimes yield less ideal results.
Enter Edit Mode HotkeyTo reveal the centroid of a previously-created polygon, select the annotation in the Annotations list, or hold Shift + H.
Merge two auto-annotate polygons
To handle cases like the player who's at bat below, we can use Auto-annotate to create two separate polygons, and then use the Merge tool to combine them.

You can read more about Merging polygons here.
Create holes
Auto-Annotate is often the most effective way to create pixel-perfect holes in polygons, like in the example below where we want to label the tablecloth through one of the pretzel's holes.

You can learn more about subtracting polygons here.
Adjust polygon coarseness
Using the coarseness slider, you can increase or decrease the number of vertices in a polygon created by Auto-Annotate.

Use Auto-Annotate in video
Auto-Annotate is especially powerful in video, where it can be used with the Interpolate feature to eliminate much of the manual work that typically comes with video annotation.

When an object is in motion, you can adjust the boundary around the object every few frames to rerun Auto-Annotate. If Interpolate is turned on, V7 will automatically handle the frames between key frames (frames in which a change to a label has been made).
If an object stays in a relatively stable position between frames, you can use the Rerun feature to rerun the Auto-Annotate model every few frames to ensure that your annotations remain pixel-perfect

As the fastest polygon segmentation tool in your annotation arsenal, we cannot recommend Auto-Annotate enough. Try the keyboard shortcuts below to make your annotation flow even faste
| Keyboard shortcut | Function |
|---|---|
| N | Equip Auto-Annotate |
| Shift + N | Enter edit mode |
| Esc | Exit edit mode |
| Shift + H | Reveal polygon centroids |
| Enter | Complete annotation |
Updated 10 months ago