Import Visual Data to V7 Darwin via HTTP
How to upload or import images, videos or any other supported visual file into V7 Darwin for dataset and annotation workflow management.
Uploading your local visual data, or importing it from your personal cloud storage, is the first step to enable for both dataset management and annotation functionalities on V7 Darwin.
In this guide, we list all the supported methods to import visual data to Darwin. Darwin supports two main methods to get make your data available on the platform.
Standard Upload
Standard Upload refers to a set of actions that need to be orderly carried out in order to get your data pushed to Darwin.
Standard Upload requirementsStandard upload only requires you to specify the filenames of the data you'd like to import to Darwin.
Standard Upload steps
- Data registration: your data is first registered to Darwin. In this step, you need to list the items (files) you'd like to push to Darwin, along with optional extra information that might be useful for the pre-processing steps (e.g.: file type, dimensions, etc.). In this step, you can also list the tags you want to apply to each individual file, or the remote path you'd like to organize your data in.
- Sign upload: if step 1 is successful, you'll be provided with the list of item IDs that were pre-created on Darwin. In this step, you are going to send a request to Darwin to receive the information you need to prepare the actual upload requests, that are going to be sent on step 3.
- Upload items: with the information you got back from step 2, you can now build and send an HTTP request to upload your files to AWS. Each item needs a separate upload request.
- Confirm upload: finally, you need to notify Darwin that you managed to upload your data successfully to the cloud. This step is necessary to enable Darwin to pre-process your newly uploaded data. The pre-processing step depends on the kind of data you upload, but it mostly consists of thumbnail generation, metadata extraction, and splitting a video into frames.
Example 1: Upload 10 local images to an existing Dataset, tagging and organizing them in appropriate folders
Imagine you have a local folder on your laptop's /Users/darwin/Desktop directory, including images you'd like to import to an existing Dataset on V7 Darwin. Your Dataset is called Animals, and typically contains images of animals, organized by species into folders and tagged differently depending on the particular breed.
Your goal is to upload these cats and dogs local images to V7 Darwin successfully, organized in the right folders and correctly tagged.

Let's first build the HTTP request payload. We need a list of items, in this case including the desired filename, the path in which we want to store each individual item and the tags we'd like to label the images with.
{
	"items": [
    {
      "filename": "cat_1.jpg",
      "path": "cats",
      "tags": ["shorthair"]
    },
    {
      "filename": "cat_2.jpg",
      "path": "cats",
      "tags": ["ragdoll"]
    },
    {
      "filename": "cat_3.jpg",
      "path": "cats",
      "tags": ["persian"]
    },
    {
      "filename": "cat_4.jpg",
      "path": "cats",
      "tags": ["sphynx"]
    },
    {
      "filename": "cat_5.jpg",
      "path": "cats",
      "tags": ["unknown"]
    },
    {
      "filename": "dog_1.jpg",
      "path": "dogs",
      "tags": ["labrador"]
    },
    {
      "filename": "dog_2.jpg",
      "path": "dogs",
      "tags": ["unknown"]
    },
    {
      "filename": "dog_3.jpg",
      "path": "dogs",
      "tags": ["german-shepherd"]
    },
    {
      "filename": "dogs_4.jpg",
      "path": "dogs",
      "tags": ["beagle"]
    },
    {
      "filename": "dogs_5.jpg",
      "path": "dogs",
      "tags": ["bulldog"]
    }
	]
}
Before sending the request, we need three additional values: an API Key, and your Team and Dataset slugged names.
How to find your Team and Dataset slugged names with your API KeyYou need an API Key and your Team and Dataset slugged names from now on. Once you generate an API Key, learn how to find your Team and Dataset slugged name using the CLI here.
Make sure the tags you specify for your items already existYou need to pre-create the tag classes you want to specify for your items. Items with unknown tags will not be created, and they will be listed in a separate
blocked_itemslist, with an"UNKNOWN_TAG"reason.
Once your Data Registration request is sent, you should get back a JSON response similar to the following.
{
  "blocked_items": [],
  "items": [
    {
      "dataset_item_id": 5600,
      "filename": "cat_1.jpg"
    },
    {
      "dataset_item_id": 5601,
      "filename": "cat_2.jpg"
    },
    {
      "dataset_item_id": 5602,
      "filename": "cat_3.jpg"
    },
    {
      "dataset_item_id": 5603,
      "filename": "cat_4.jpg"
    },
    {
      "dataset_item_id": 5604,
      "filename": "cat_5.jpg"
    },
    {
      "dataset_item_id": 5605,
      "filename": "dog_1.jpg"
    },
    {
      "dataset_item_id": 5606,
      "filename": "dog_2.jpg"
    },
    {
      "dataset_item_id": 5607,
      "filename": "dog_3.jpg"
    },
    {
      "dataset_item_id": 5608,
      "filename": "dogs_4.jpg"
    },
    {
      "dataset_item_id": 5609,
      "filename": "dogs_5.jpg"
    }
  ]
}
Each item is now given an ID, which you need to use to send the sign, upload and confirm requests.
Let's now sign dog_1.jpg, by sending a GET https://darwin.v7labs.com/dataset_items/5600/sign_upload request. You should get back a response similar to the following one:
{
  "upload_url": "https://darwin-production-data.s3.eu-west-1.amazonaws.com/dog_1.jpg?X-Amz-Signature=$X_AMZ_SIGNATURE&X-Amz-Algorithm=$X_AMZ_ALGORITHM&X-Amz-Credential=$X_AMZ_CREDENTIAL&X-Amz-Date=$X_AMZ_DATE&X-Amz-Expires=86400&X-Amz-SignedHeaders=host"
}
Then, use the URL you see in upload_url field to upload the file with PUT request. All you need to do is to make a PUT request for the URL with file content posted as HTTP data, with no non-standard headers required.
Example using cURL:
curl --request PUT --url https://darwin-production-data.s3.eu-west-1.amazonaws.com/dog_1.jpg?X-Amz-Signature=$X_AMZ_SIGNATURE&X-Amz-Algorithm=$X_AMZ_ALGORITHM&X-Amz-Credential=$X_AMZ_CREDENTIAL&X-Amz-Date=$X_AMZ_DATE&X-Amz-Expires=86400&X-Amz-SignedHeaders=host --data-binary "@dog_1.jpg"If your upload request is successful, the last thing you need to do is to send a Confirm Upload request to V7 Darwin, so your item can be post-processed and added to your Dataset. In this case, to confirm the successful upload of cat_1.jpg, use PUT https://darwin.v7labs.com/dataset_items/5600/confirm_upload.
If this last request was successful, you should expect your image to be available in a few seconds. Let's check.
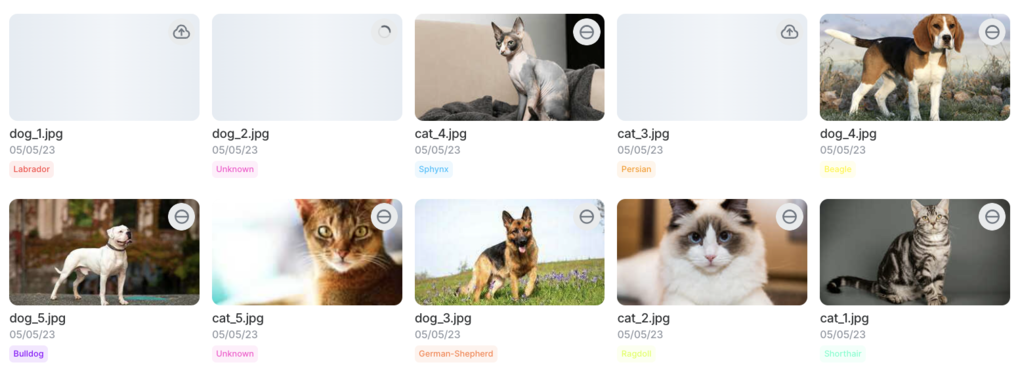
Nice! cat_1.jpg is successfully uploaded and marked as new!
Note that all other items have been pre-created, but are still awaiting for your sign, upload and confirm requests to be sent. However, all items are already correctly tagged, and organized in the right folder.
Once you complete the upload process for all images, you should expect something like this.
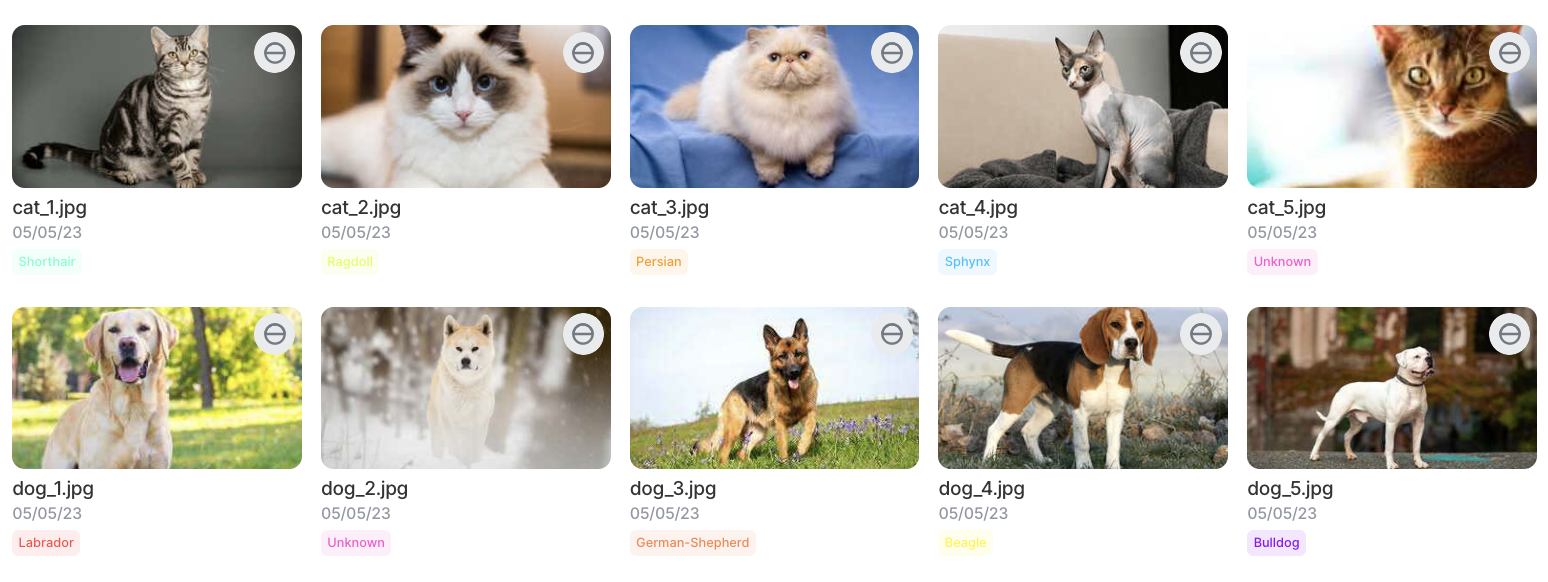
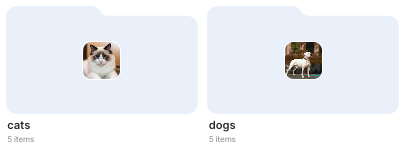
With cats and dogs organized in their own folders.
Example 2: Upload two videos, tagging them with textual tags
Suppose you have two videos that have been captured by two separate webcams, installed in different positions in the same room. We'd like to annotate these videos separately, but we'd like to tag each video with the camera metadata, so we can later pull the annotations made on the videos captured from the same camera_id.
We'd like to keep native framerate, and annotate the videos as such, and not as a set of individual frame images.
With that in mind, we need to package a request that looks like this.
{
  "items": [
    {
      "filename": "cam_1.mp4",
      "tags": [
        {
          "bedroom": "{\"camera_id\":\"A123\",\"captured_at\":\"2021-06-30 16:20:50.445865\"}"
        }
      ]
    },
    {
      "filename": "cam_2.mp4",
      "tags": [
        {
          "bedroom": "{\"camera_id\":\"A124\",\"captured_at\":\"2021-06-30 16:20:50.445865\"}"
        }
      ]
    }
  ]
}
Make sure the tags you specify for your items already existYou need to pre-create the tag classes you want to specify for your items. Items with unknown tags will not be created, and they will be listed in a separate
blocked_itemslist, with an"UNKNOWN_TAG"reason.
Make sure the tags you create allow for text sub-annotationsIn this example, we're using text sub-annotations to include JSON metadata within the specified tags. For this reason, we need to make sure that our tag classes allow for
textsub-annotations, otherwise they will be listed in a separateblocked_itemslist, with a"MISSING_TEXT_FOR_TAG"reason.
If everything is alright, you should expect a response similar to the following one:
{
  "blocked_items": [],
  "items": [
    {
      "dataset_item_id": 5610,
      "filename": "cam_1.mp4"
    },
    {
      "dataset_item_id": 5611,
      "filename": "cam_2.mp4"
    }
  ]
}
In the UI, your files are already pre-created and tagged, and await for upload and post-processing steps.
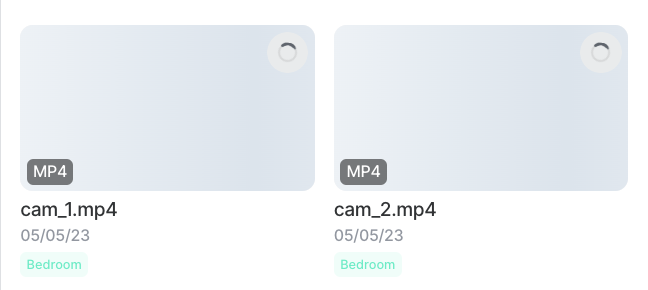
Where's my tag's attached text?In the UI, you'll notice that only the tag name (
"bedroom"in this example) will show up. Don't worry, those tags' attached text sub-annotations are safely stored!
The following steps (sign, upload and confirm requests) look exactly like the ones listed in the first example above.
External Upload
External upload refers to the action of registering data that is already stored in a bucket that is owned by your organization (aka External Storage). This is the ideal solution for customers that want their data not to leave their cloud. You must own a registered External Storage in order to be eligible to use External Upload functionalities.
External Upload eligibilityYou must own a registered External Storage in order to be eligible to use External Upload functionalities.
How to register an External Storage bucket on V7 DarwinTo register your external bucket as External Storage on V7 Darwin, check out the External Storage documentation.
Similarly to Standard Upload, during External Upload your data needs to be first registered to Darwin. In this step, you need to list the items (files) you'd like to push to Darwin, along with optional extra information that might be useful for the pre-processing steps (e.g.: file type, dimensions, tags, etc.).
External Upload requirementsExternal upload requires you to specify the filenames and bucket keys of the data you'd like to import to Darwin, along with the name of your External Storage as it was registered to Darwin.
If write access is set for your External Storage, Darwin will perform a pre-processing step. The pre-processing step depends on the kind of data you upload, but it mostly consists of thumbnail generation, metadata extraction, and others.
If the access level for your External Storage is set to readonly, you need to make sure to attach all the necessary extra information to your request's body payload. Extra information include keys to your original files, keys to the file's thumbnails, file type and dimensions, and individual keys to your video frames in case of video upload.
Readonly External Upload additional requirementsIf the access level for your External Storage is set to read-only, you need to make sure to attach all the necessary extra information to your request's body payload. Extra information include keys to your original files, keys to the file's thumbnails, file type and dimensions, and individual keys to your video frames in case of video upload.
For more information, visit the API Reference for the Data Registration HTTP request.
Example 3: Import 10 External Storage images to an existing Dataset, tagging and organizing them in appropriate folders
Let's consider the same scenario of Example 1, but suppose the images to import are not locally stored on your hard drive, but rather in an external bucket, owned by your organization. Let's also assume the bucket where the images are stored is correctly registered as External Storage to V7 Darwin.
To manage and annotate data stored in an external bucket, we need to import it using the External Upload method. We just need to carry out the Data Registration step, by keeping in mind that extra data will need to be sent in the request payload. Let's see how:
{
  "items": [
    {
      "filename": "cat_1.jpg",
      "key": "animals/originals/cats/1.jpg",
      "thumbnail_key": "animals/thumbnails/cats/1.jpg",
      "width": 900,
      "height": 675,
      "path": "cats",
      "tags": ["shorthair"]
    },
    {
      "filename": "cat_2.jpg",
      "key": "animals/originals/cats/2.jpg",
      "thumbnail_key": "animals/thumbnails/cats/2.jpg",
      "width": 800,
      "height": 400,
      "path": "cats",
      "tags": ["ragdoll"]
    },
    {
      "filename": "cat_3.jpg",
      "key": "animals/originals/cats/3.jpg",
      "thumbnail_key": "animals/thumbnails/cats/3.jpg",
      "width": 800,
      "height": 533,
      "path": "cats",
      "tags": ["persian"]
    },
    {
      "filename": "cat_4.jpg",
      "key": "animals/originals/cats/4.jpg",
      "thumbnail_key": "animals/thumbnails/cats/4.jpg",
      "width": 700,
      "height": 780,
      "path": "cats",
      "tags": ["sphynx"]
    },
    {
      "filename": "cat_5.jpg",
      "key": "animals/originals/cats/5.jpg",
      "thumbnail_key": "animals/thumbnails/cats/5.jpg",
      "width": 500,
      "height": 333,
      "path": "cats",
      "tags": ["unknown"]
    },
    {
      "filename": "dog_1.jpg",
      "key": "animals/originals/dogs/1.jpg",
      "thumbnail_key": "animals/thumbnails/dogs/1.jpg",
      "width": 1200,
      "height": 791,
      "path": "dogs",
      "tags": ["labrador"]
    },
    {
      "filename": "dog_2.jpg",
      "key": "animals/originals/dogs/2.jpg",
      "thumbnail_key": "animals/thumbnails/dogs/2.jpg",
      "width": 2592,
      "height": 1944,
      "path": "dogs",
      "tags": ["unknown"]
    },
    {
      "filename": "dog_3.jpg",
      "key": "animals/originals/dogs/3.jpg",
      "thumbnail_key": "animals/thumbnails/dogs/3.jpg",
      "width": 583,
      "height": 485,
      "path": "dogs",
      "tags": ["german-shepherd"]
    },
    {
      "filename": "dog_4.jpg",
      "key": "animals/originals/dogs/4.jpg",
      "thumbnail_key": "animals/thumbnails/dogs/4.jpg",
      "width": 645,
      "height": 380,
      "path": "dogs",
      "tags": ["beagle"]
    },
    {
      "filename": "dogs_5.jpg",
      "key": "animals/originals/dogs/5.jpg",
      "thumbnail_key": "animals/thumbnails/dogs/5.jpg",
      "width": 868,
      "height": 588,
      "path": "dogs",
      "tags": ["bulldog"]
    }
	],
  "storage_name": "my-own-storage"
}
Are thumbnail keys and image dimensions really required?It depends. If you registered your External Storage as readonly, then yes. We need those extra parameters because Darwin does not have write permissions on your bucket, and it can't perform the post-process step successfully that way.
However, if Darwin is granted write permissions on your personal bucket, then no, thumbnails can be automatically generated, and image dimension can be inferred in the post-processing step.
Updated 29 days ago