Properties
Enhance data labeling and classification in V7 with Properties: your solution for comprehensive tagging, categorization, and metadata enrichment in annotations
Overview
Properties enable users to add and edit detailed information to their annotations. This feature streamlines the labeling process and enriches your dataset for downstream ML development.
Properties allow you to ask specific questions about each annotation. This interactive approach enables the collection of intricate details that go beyond basic labeling, thereby creating a richly annotated dataset. The benefits of this feature are multifold: it fosters a deeper understanding of the annotated objects, enhances the quality of the training data for ML models, and allows for more nuanced AI behaviours based on these detailed annotations.
Property Types
Depending on what your use case requires properties can be either:
- Single Select
- Multi-Select
- Text
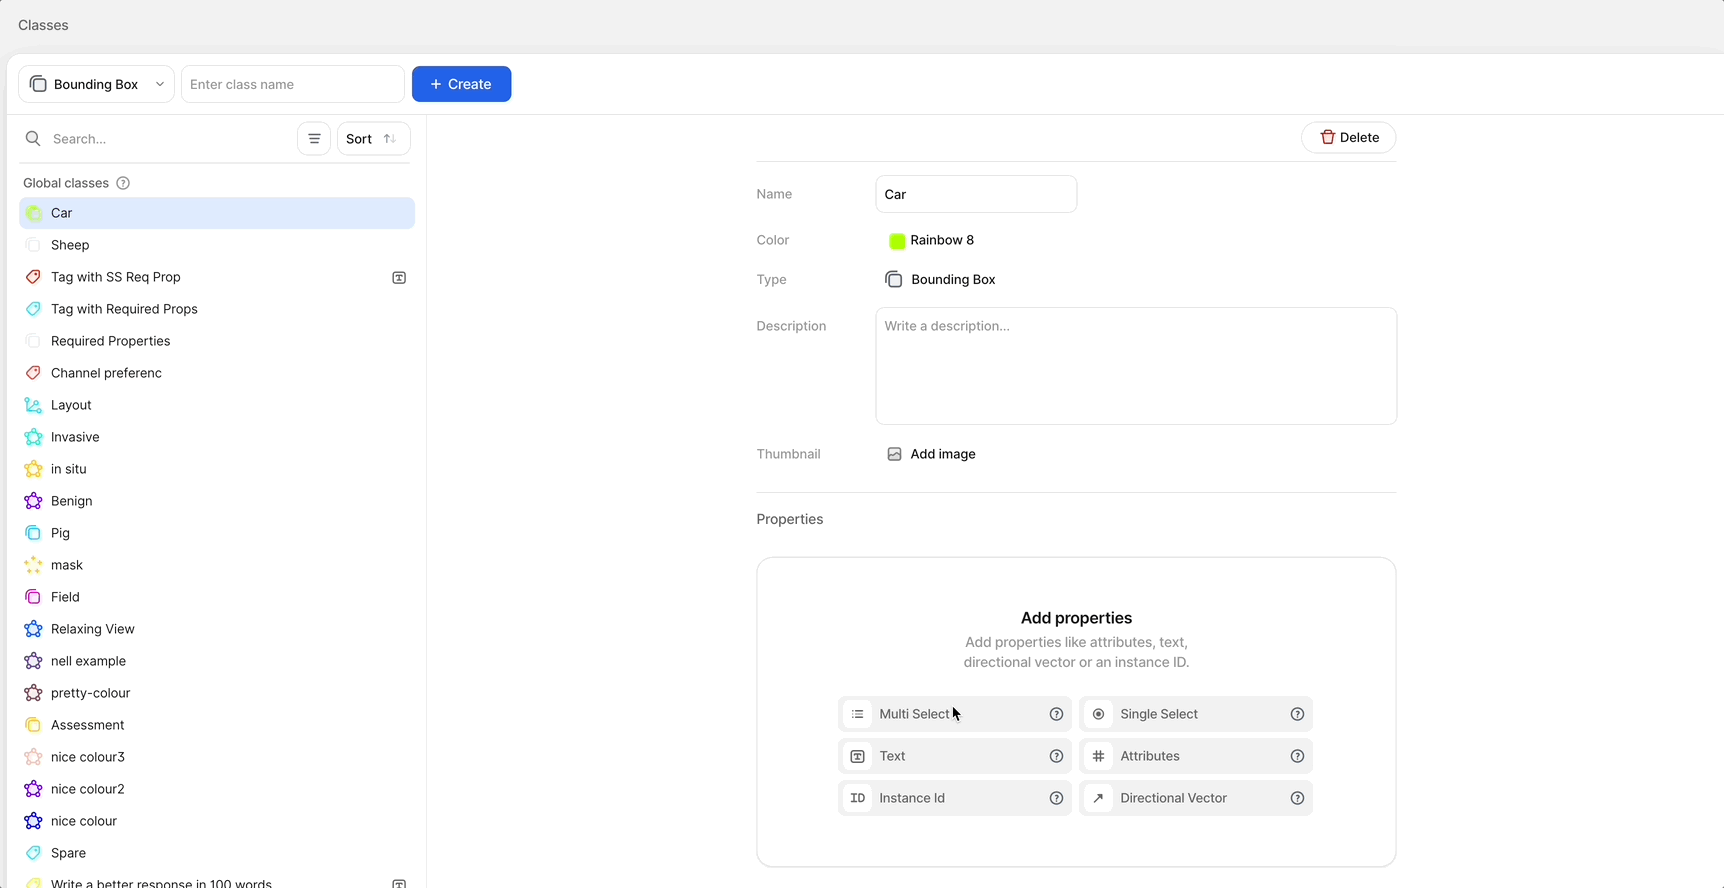
Creating Properties
Properties can be seamlessly added to both new and existing Classes via the V7 Class menu. The process involves naming the property, framing a guiding question for labelers, specifying the options, and deciding if the property is annotation level, or frame level (keyframe enabled/disabled).
Note: Labelers are restricted from adding new property options during the labeling process; these must be defined in advance.
Required Properties
When adding or editing properties through the V7 Class menu, you now have the option to mark properties as 'required' by simply toggling a switch. This designation means that labelers will not be able to complete an item without specifying these required properties.
Making a property required is a powerful tool for ensuring data completeness but it also adds a layer of mandatory interaction for labelers as it will prevent them from moving through stages if they are not complete.
Changing Required StatusIf you change a property from optional to required during an active workflow, there may be some files that have already completed the workflow that are missing the property. Additionally, labelers in this workflow will immediately be required to complete the property.
Keyframe Enabled/Disabled (Video Labeling)
Imagine you have a class called "Car" and you are labeling footage of the car driving down a motorway. You want to track two properties: the location of the car, and the colour of the car. When you set up these properties you have the option to make each property either keyframe enabled or keyframe disabled.
- Keyframe Enabled (default)
- This means that the property could have different values depending on the frame of the video
- e.g. location of the car (right lane, middle lane, left lane)
- Keyframe Disabled
- This means that the property must have the same value for the entire length of the annotation
- e.g. colour of the car (blue, red, green)
Keyframe enabled/disabled is defined on property set-up and cannot be changed later. If you need to change the keyframe status you should either create a new class OR delete the property and recreate it. Please use caution when deleting a property, as you will delete all associated data as well.
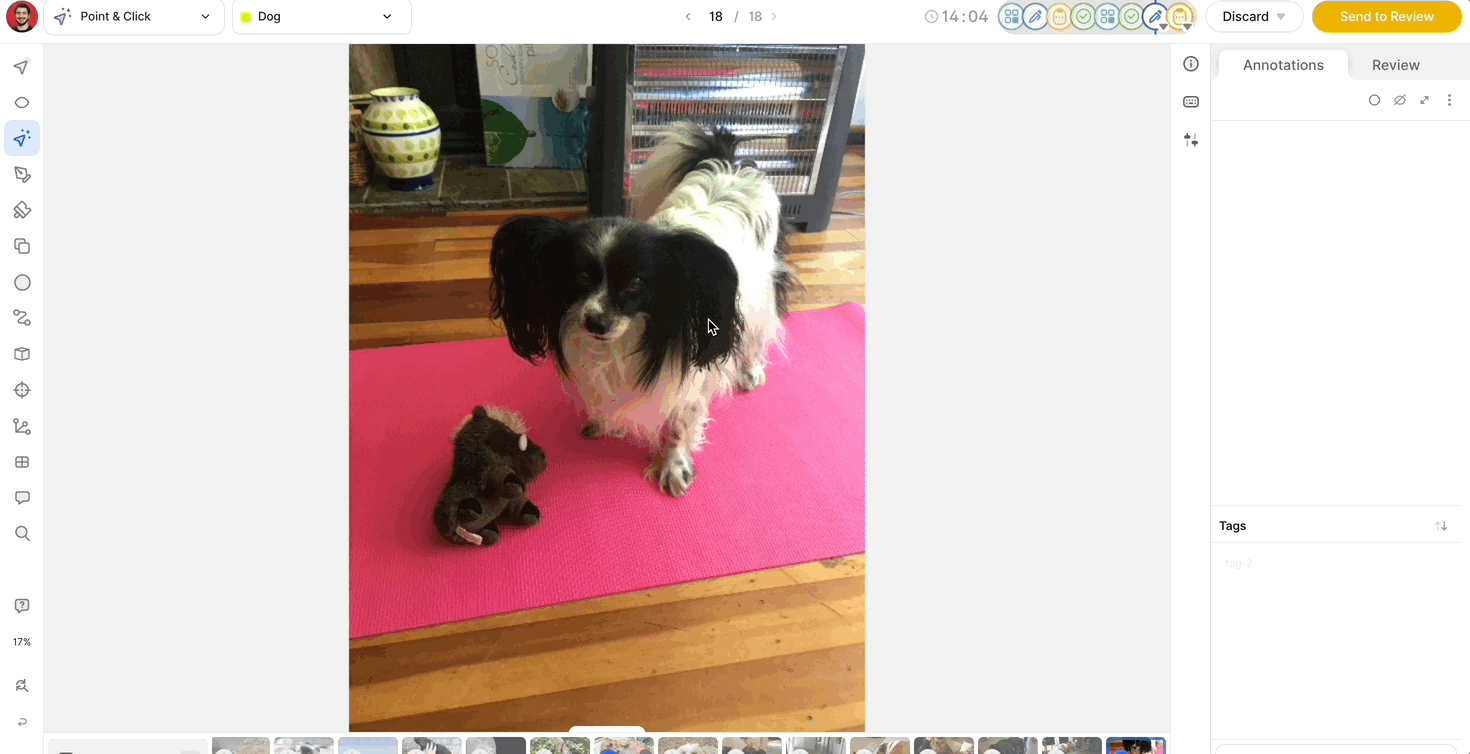
Annotating with Properties
Labelers can choose the appropriate properties for each annotation instance during labeling.
Property Editing
- Select an annotation and use the right-hand toolbar in the workview.
- Click on the centroid of an annotation to open the property editor.
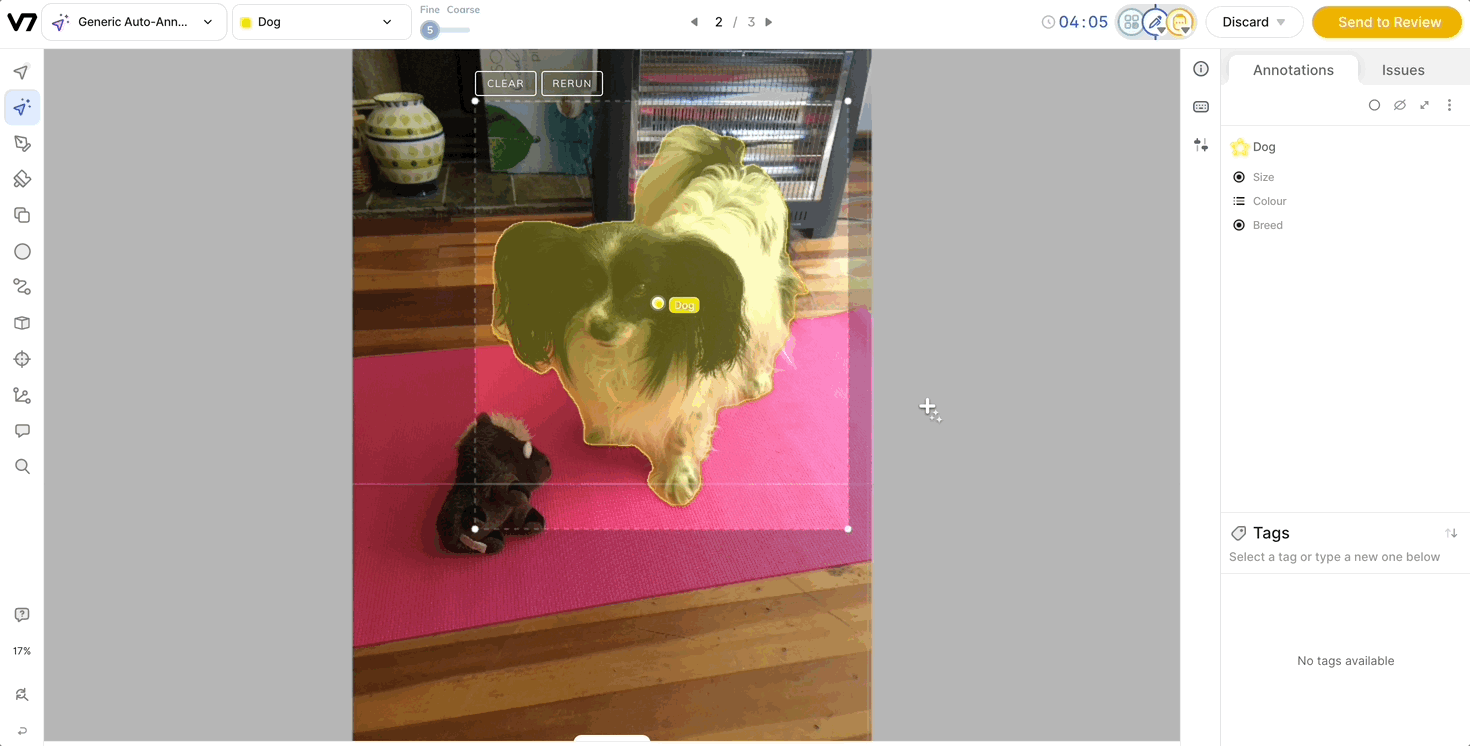
Viewing PropertiesWhen working in the annotation interface, you can view the properties in the annotation side panel by using the "Toggle Sub-Annotations" button. If you prefer keyboard shortcuts for efficiency, simply press
SHIFT-Hto toggle the view of these properties.
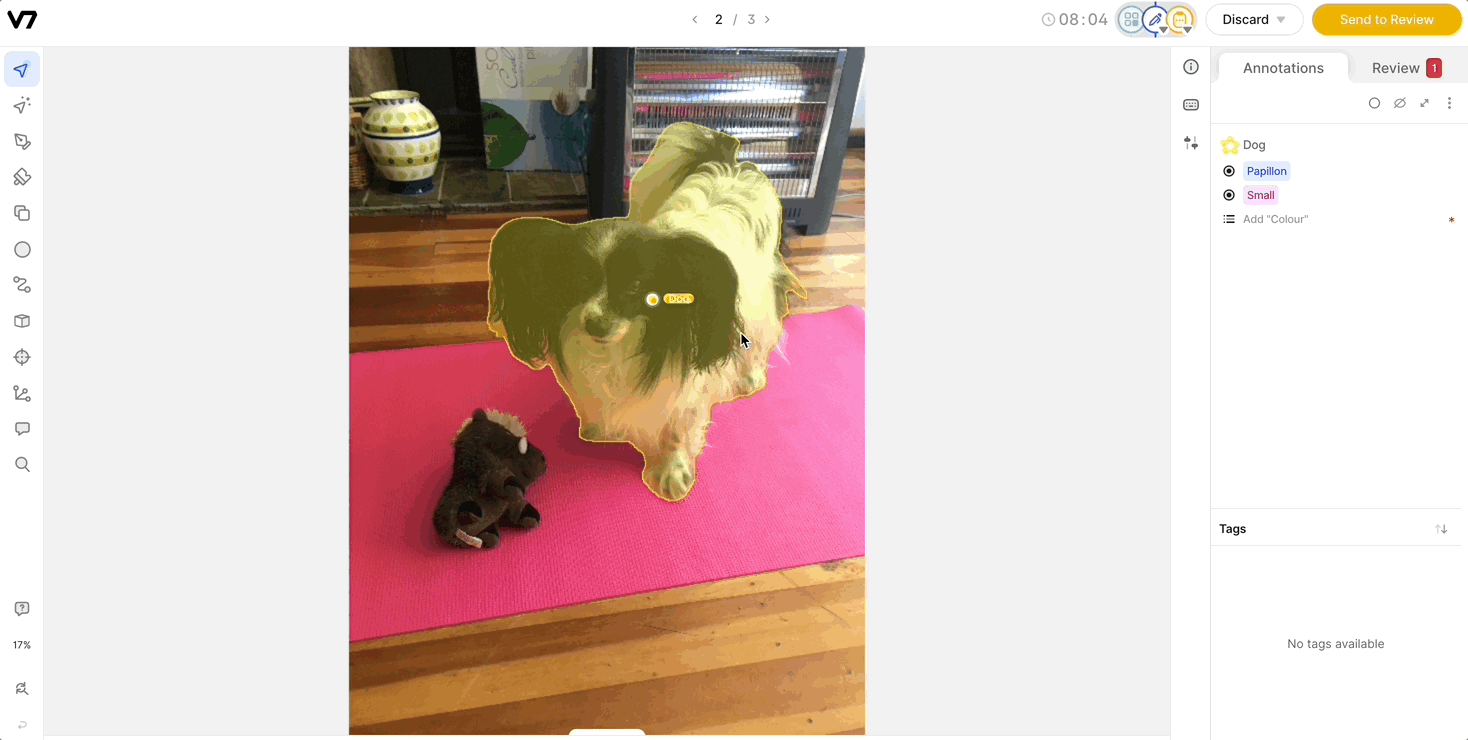
Labeling with Required Properties
During the annotation process, the Review Panel will dynamically update to reflect the number of required properties that need to be specified before proceeding. These required properties are easily identifiable by a red star next to their names.
If a labeler attempts to finalize an annotation without completing all required properties, a pop-up notification will appear, preventing further progress. This will take the labeler to the Review panel and guide them to complete the properties before proceeding.
Importing Properties
When you download any export containing at least one property, you'll notice that the export contains a metadata.json file inside a hidden .v7 folder. This file contains various metadata about each property present in the export including:
- The property name
- Whether it's single-select or multi-select
- Whether it's a required property or not
- It's description
- The property values themselves along with their colours
- Granularity (optional) - specify annotation if the property should be "keyframe disabled"
For example:
"properties": [
        {
          "name": "single1",
          "type": "single_select",
          "description": "Property description",
          "required": false,
          "property_values": [
            {
              "value": "123",
              "color": "rgba(219,255,0,1.0)"
            },
            {
              "value": "12",
              "color": "rgba(255,0,122,1.0)"
            },
            {
              "value": "1",
              "color": "rgba(219,0,255,1.0)"
            }
          ],
          "granularity": "annotation"
        }
  ]
The metadata.json file is not required to import property values that already exist in your team. However, if you want to either import properties or property values that don't yet exist in your team, you'll need to:
- 1: Define the properties and their values in the
.v7/metadata.jsonfolder, and: - 2: Perform the import from the same directory as the
.v7folder
The schema for the metadata file is available here.
Deleting Properties
Deleting properties from a class can be performed within the Classes menu. Here's what you need to know:
Considerations Before DeletionData Impact: Be aware that deleting a property will remove all associated annotations of this property across all datasets. This action is irreversible!
Steps to Delete a Property
- Navigate to the Classes menu.
- Locate the class from which you want to remove a property.
- Select the property to be deleted.
- Confirm the deletion. Ensure you understand the implications of this action.
Updated 10 months ago