Configuring CloudFront distribution
How to configure CloudFront to accelerate access to S3 buckets
If your users are located geographically far away from your AWS S3 bucket, loading the bucket's files on the V7 UI might be taking them noticeably longer. This can be addressed by configuring an AWS CloudFront distribution that will cache the files locally and act as a proxy between the users and the bucket to take advantage of faster network routing inside of AWS.
Creating a new distribution
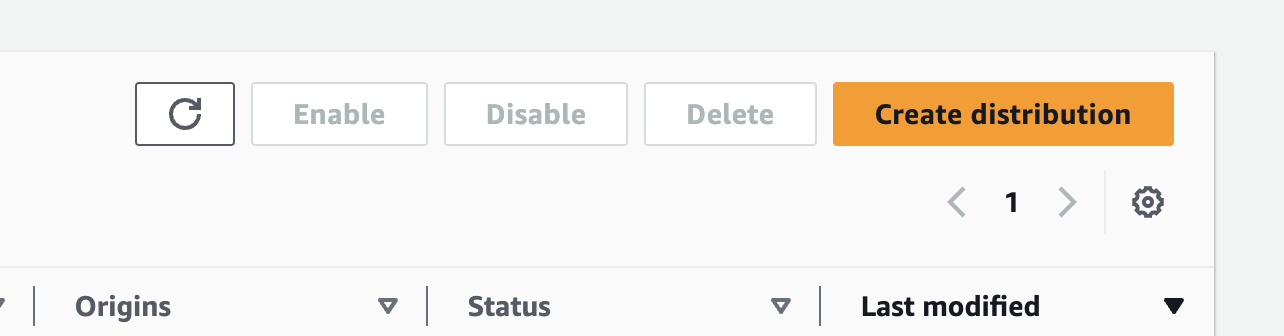
To create a distribution from AWS console, navigate to the CloudFront product and click "Create Distribution" on the top right
Origin
Choose your bucket's URL as an Origin domain. Leave the Origin path blank, and Origin access as public. Do not add custom headers.
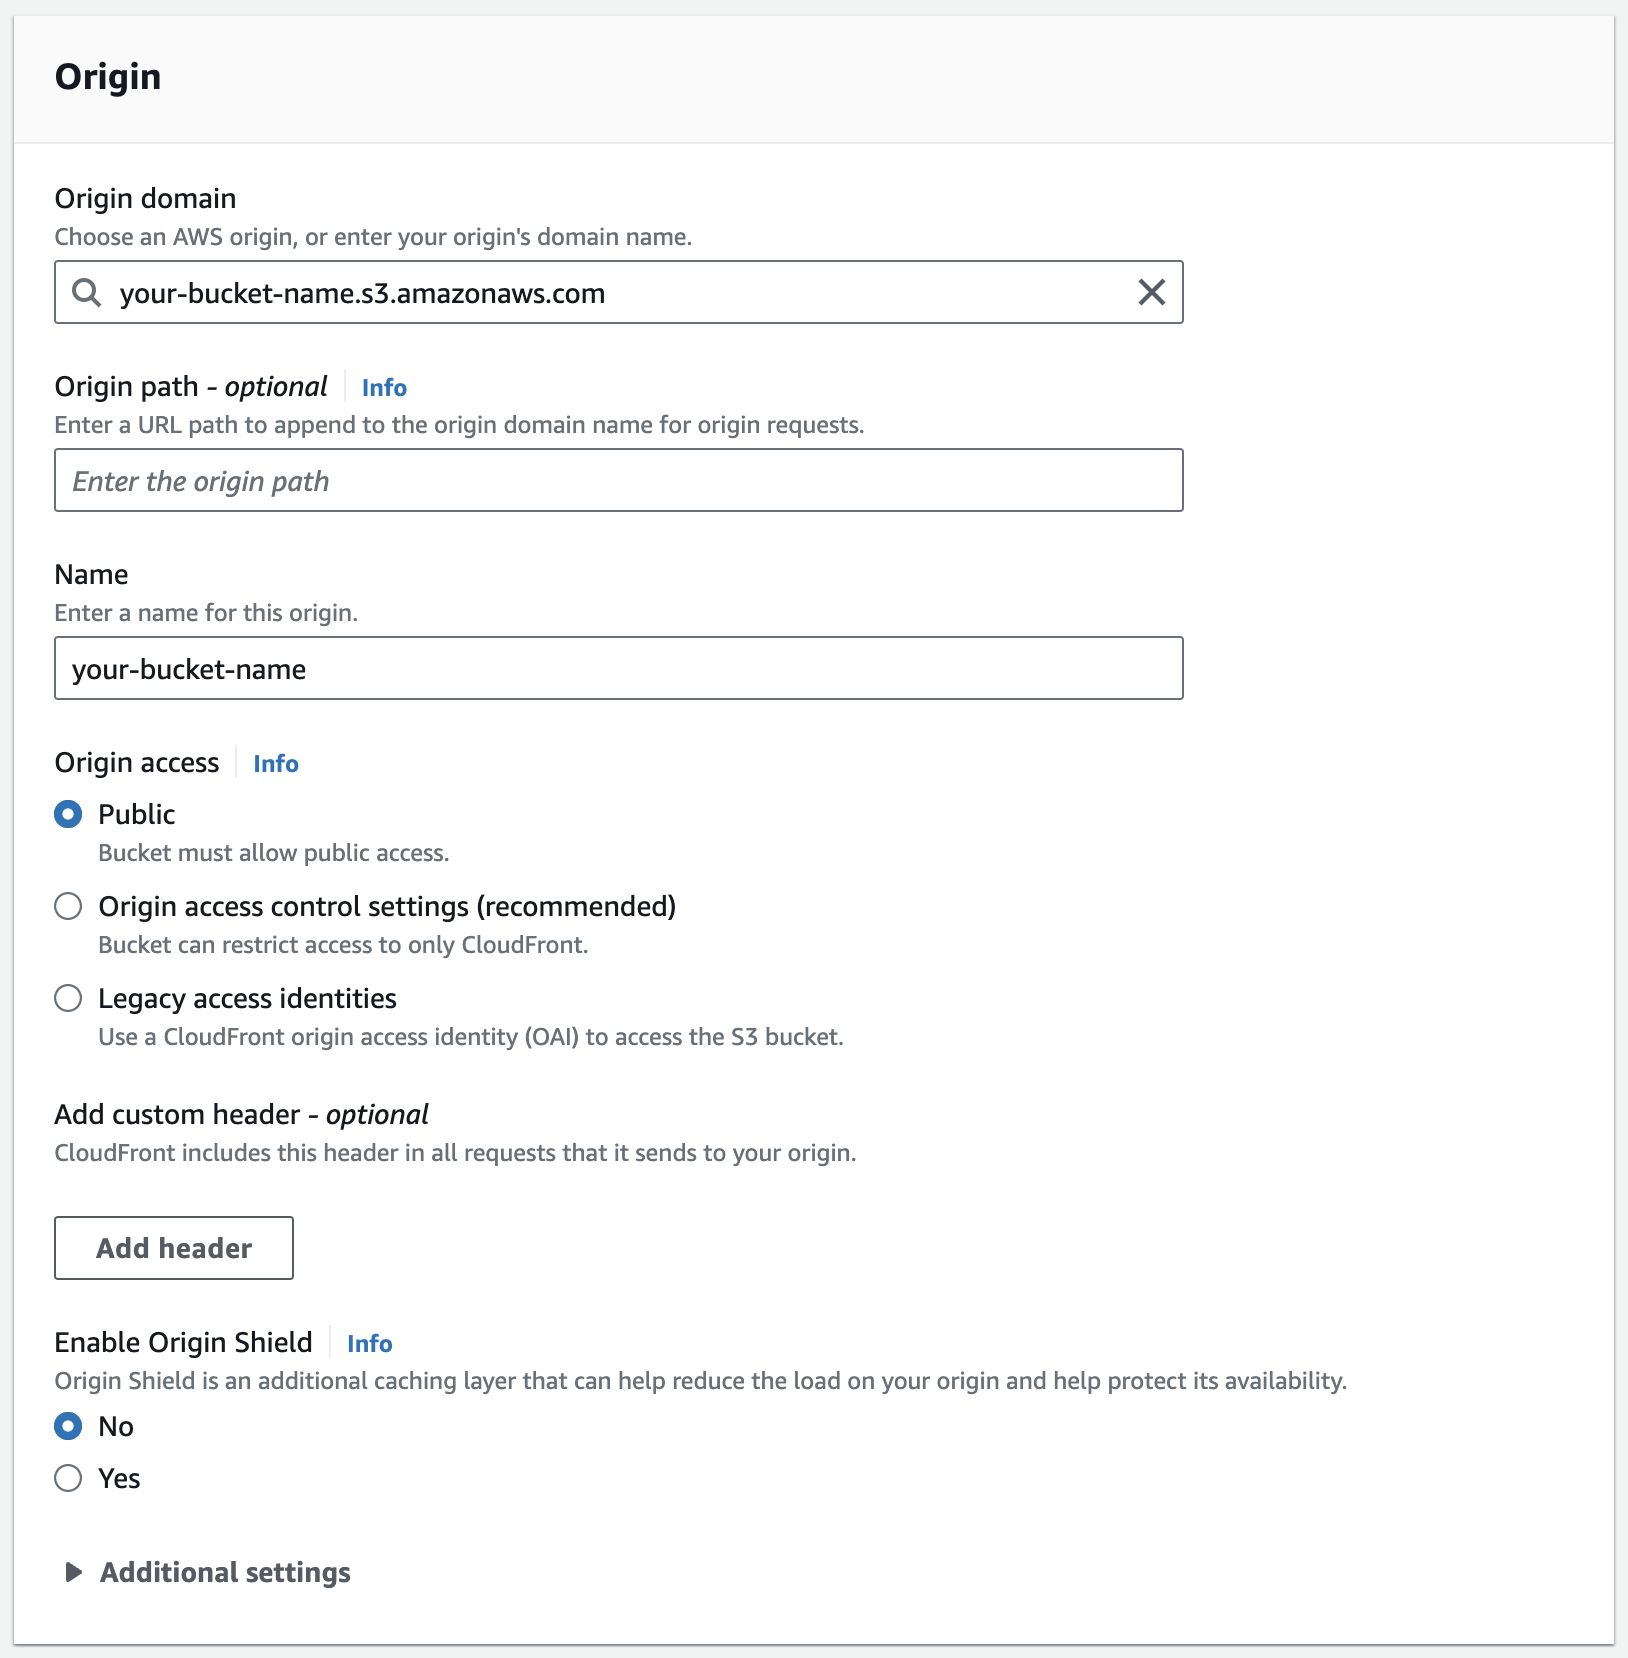
Origin access: publicWith Origin access set to public, and the bucket not being explicitly configured to allow access from the CloudFront distribution, access to the bucket's files through a CloudFront URL will still require clients to use S3 signed URLs - just like they would have to when accessing the files directly from S3 bucket's URL.
Default cache behavior
Set:
- Path pattern to Default (*),
- Allowed HTTP methods to GET, HEAD,
- Restrict viewer access to No,
- Cache key and origin requests to Cache policy and origin request policy,
- Origin request policy to AllViewerExceptHostHeader,
- Cache policy to a newly created policy configured as in the section below.
We recommend setting Compress objects automatically to Yes for improved performance, and Viewer protocol policy to HTTPS only to disallow insecure access.
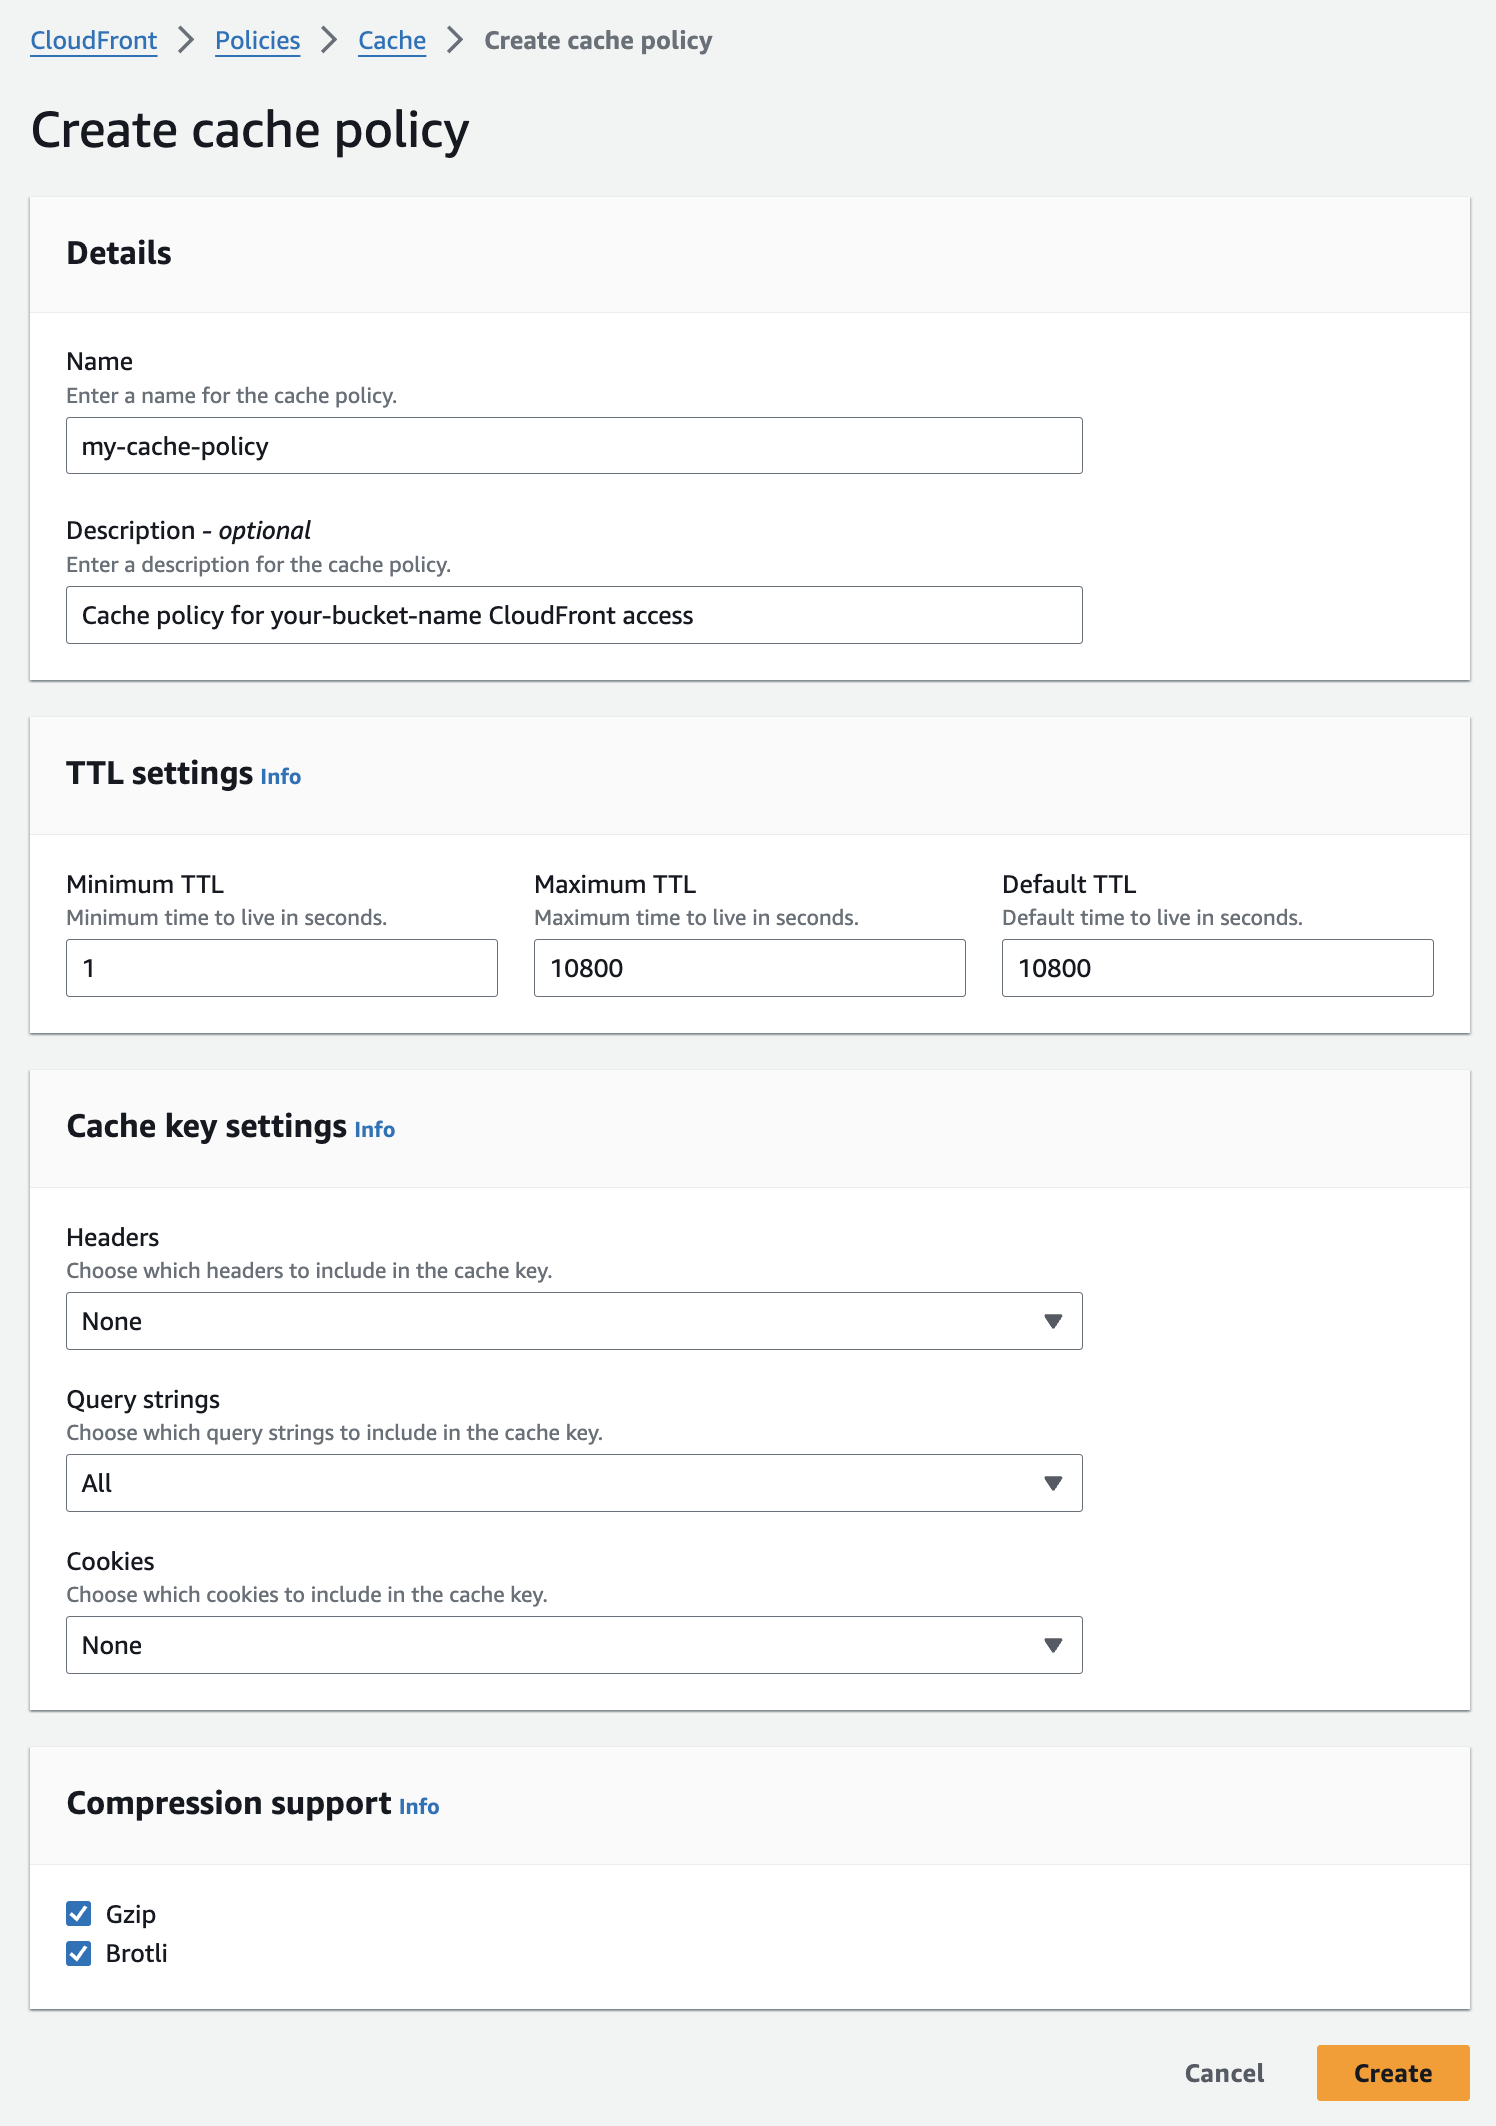
Cache policy
Set Default TTL to the longest time your S3 files should be cached on the CloudFront's side - we recommend 7200 seconds (2 hours). We recommend setting Maximum TTL to the same value.
CloudFront caching and S3 signed URLsWhen preparing URLs so that UI users can have access to your S3 files, V7 will create signed URLs with an expiration time of several hours. When these files get cached on the CloudFront side, they will remain accessible under the signed URL for up to Default TTL - even if that's longer than the signature is valid for.
For Cache key settings, leave Headers and Cookies as None, and set Query strings to All. We recommend leaving Compression support settings all checked for best client performance.
Back on the distribution configuration page, set Response headers policy to SimpleCORS, so UI users can load files from your distribution domain while visiting https://darwin.v7labs.com.

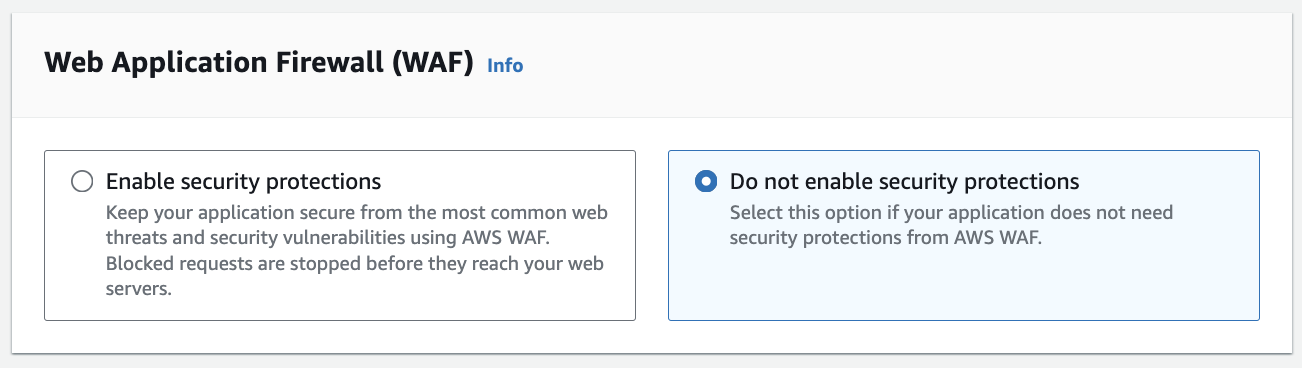
Web Application Firewall (WAF)
You can configure WAF here. In this example we will choose Do not enable security protections. Given that the CloudFront distribution is meant to only be usable with signed S3 URLs, additional WAF policies should be unnecessary.
Settings
Under Price class, choose where the files should be cached at, and where users should be routed to access your files. The option you choose should cover all of the locations from which your users will access the V7 platform.
For improved performance and compatibility, we recommend enabling HTTP/2 and HTTP/3 under Supported HTTP versions, and setting IPv6 to On.
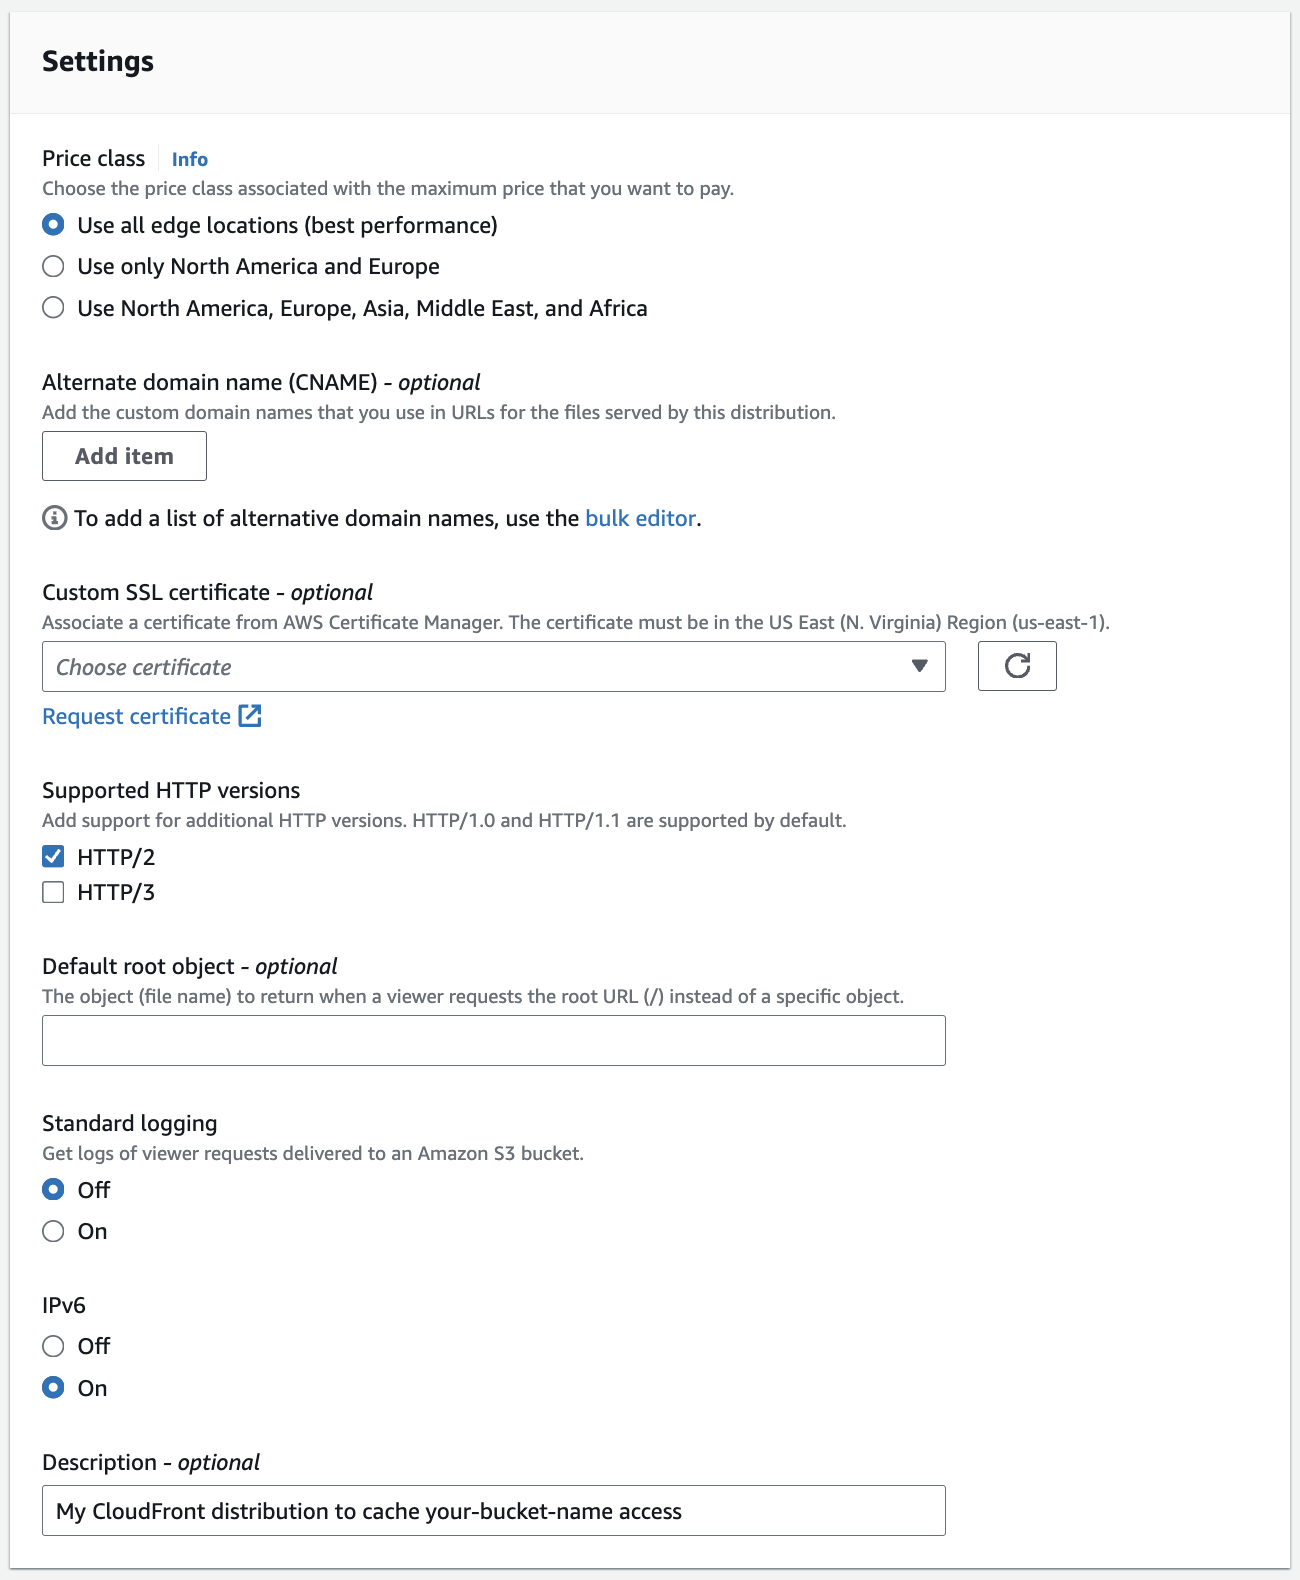
Click on the Create distribution button. On the next page, note the Distribution domain name.
ImportantDo not make any changes to your bucket that give permissions to the newly created distribution! Users will retrieve your S3 files by using S3 signed URLs that will contain proper authorization per-file.
Setting up V7 external storage to use your CloudFront distribution
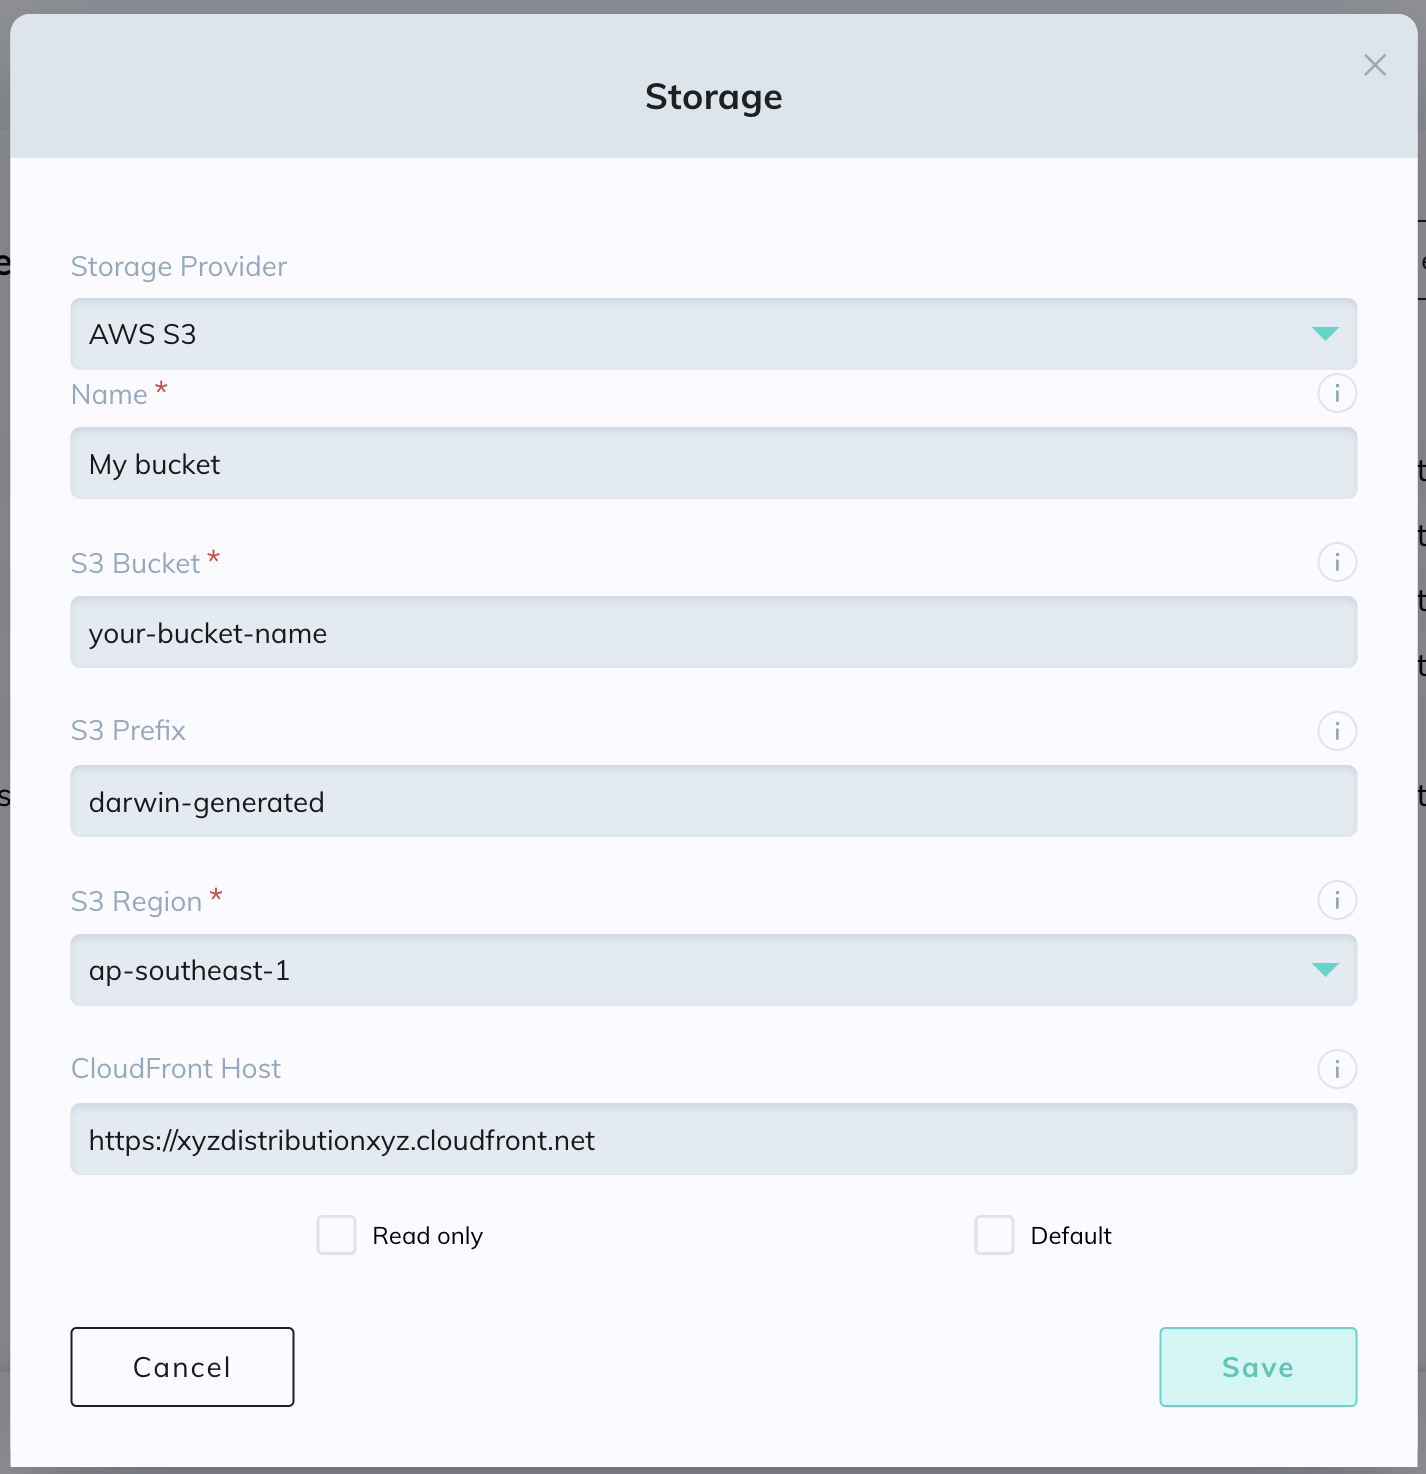
The CloudFront distribution's hostname noted in the previous step can be set in Darwin either while creating a new storage, or for an existing storage. Go to Settings->Storage and click on New Storage Integration, or select one of the existing storages to edit it. Put your CloudFront distribution URL in the CloudFront Host field and save the changes.
Updated 10 months ago