Make changes in bulk
In this guide, we'll take a look at which changes can be made to the images and videos in your datasets in bulk, and how to make them.
To call up the bulk change menu, select a single item in the Data page of a dataset. You'll be greeted with the panel below:

Select all

This one's pretty straightforward - hit Select all and every item within your dataset will be highlighted. You can also select a subset of images in a row by holding Shift after selecting one image, and then selecting the final image in sequence.
Archive
Hitting Archive will remove any selected images from the Data page of your dataset. Archived images will still be stored under the Archived filter, and can be restored at any time. To find Archived items, click on the Show button in the filters panel.
Delete
An Item has to be Archived first before it can be Deleted. Please take caution, as deleting files cannot be undone. To avoid accidental data loss, you will be prompted to confirm if you really want to delete your Items. Deleting items can be a useful troubleshooting step, especially for Items in the Error state, as they can be then re-uploaded.
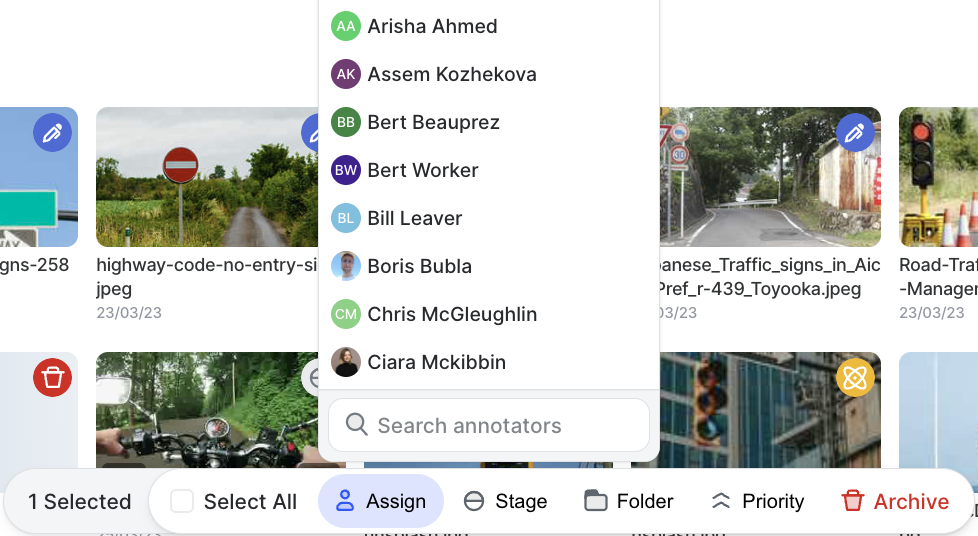
Assign
Selecting one or more items from the Data page will allow you to assign to any of the users that have access to your dataset.
Any items in a New status that are assigned to a team member will be moved into the first stage of your dataset's workflow.
Any items in a Complete status, will be moved to the first stage of your dataset's workflow.
Items in all other statuses will maintain their current status when they are reassigned.
Stage
You can change the selected items' Stage by marking them as complete, moving them to a different stage, or resetting their workflow. You can also remove all the items' annotations from the Stage menu as shown below:
Folder
You can move selected images in bulk to existing folders, or create a new folder by adding a new folder name to the Folder field and hitting Enter.
Priority
Priority can be set or removed for any images that have been selected.
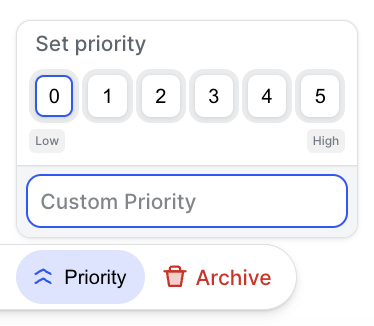
Choose from a priority level between 1-5, or create a custom level by typing any digit into the Custom field. You can remove priority in bulk by selecting - .
Priority can be used to determine how new tasks are assigned to your team by setting the assignment order in the Settings page of your dataset.

Updated 6 months ago