Radiology Labeling Guide
V7 is a great platform for labeling your healthcare data, including DICOM and NIfTI
This guide explores advanced annotation techniques using V7's specialized tools for radiology, designed to enhance efficiency and accuracy in your labeling projects.
Supported File Types
V7 supports the following medical file types for annotation:
- DICOM
- NIfTI
Annotating in 3D
Using Masks for 3D Annotations
-
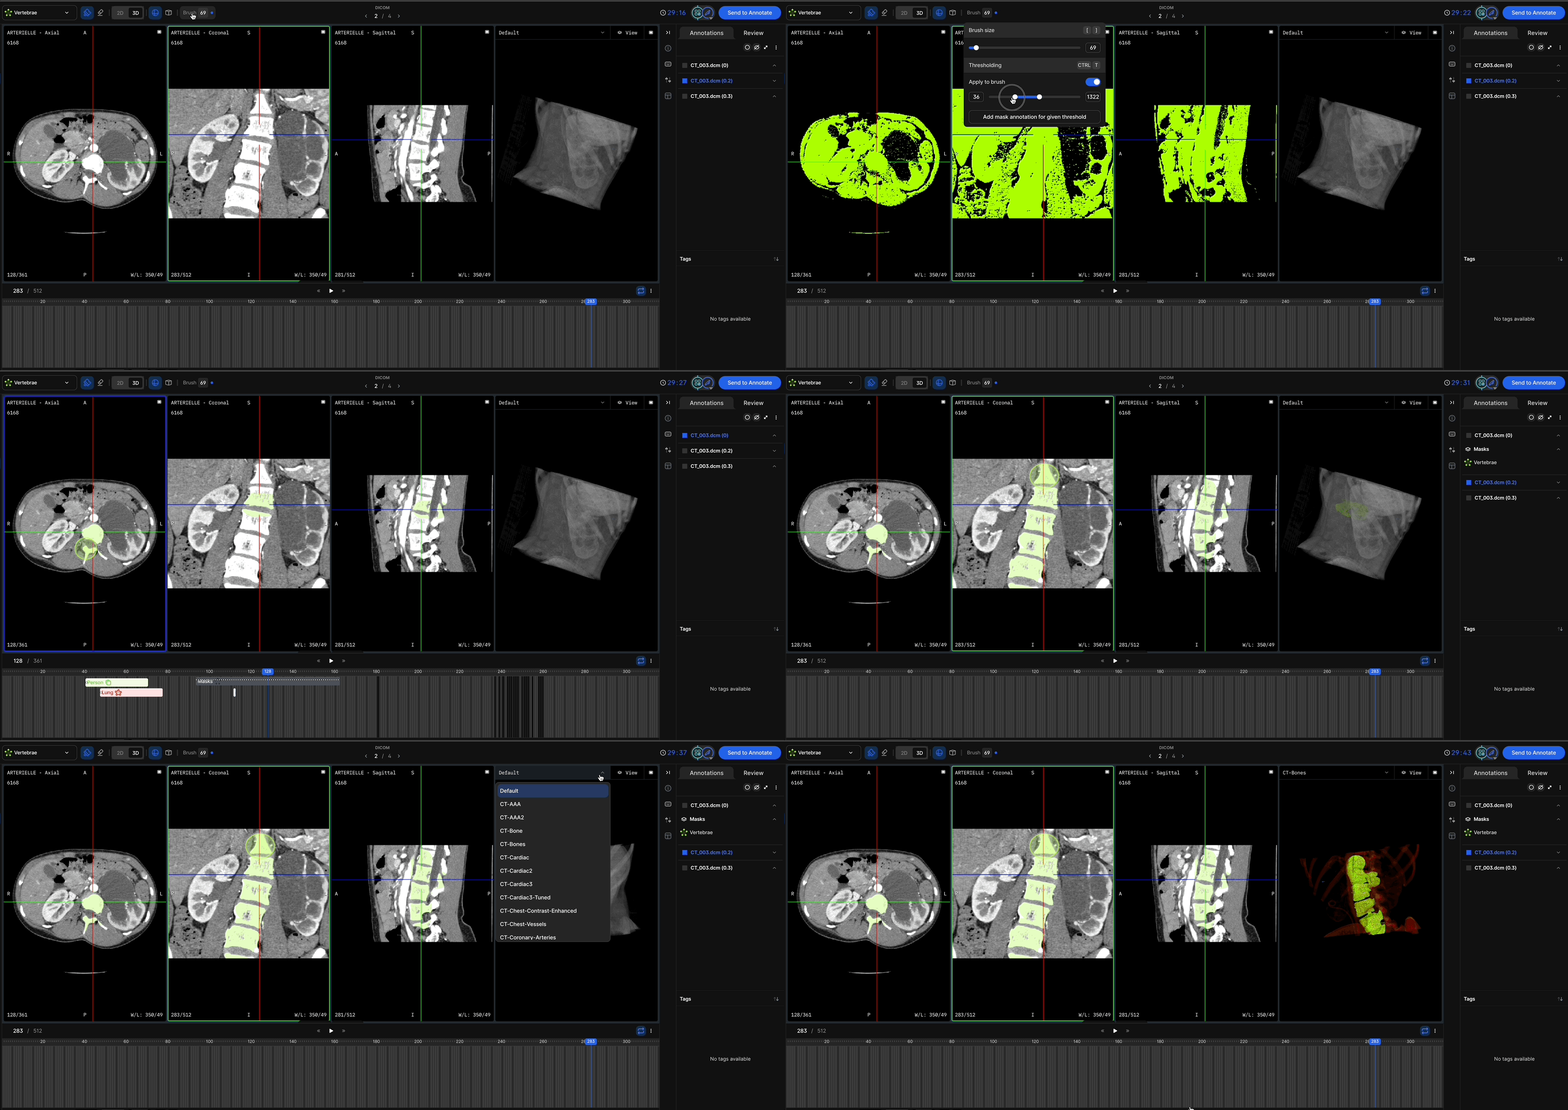
Use the 3D Threshold Brush: The 3D threshold brush is an efficient way to label across volumes. Adjust parameters to quickly generate annotations that cover the desired regions.
-
Edit with the 3D Brush: Make precision edits using the 3D brush in axial, sagittal, coronal, and oblique views. Adjust brush size with
[and], toggle between brush and eraser tools usingF(brush) andE(eraser), and utilize the 3D threshold brush for volume-wide annotations. -
Utilize Window and Level Controls and 3D Renderer: Use the
/hotkey to adjust imaging parameters for better clarity. Take advantage of the 3D renderer to view annotations and volumes in real-time. Only masks are supported for compatibility with most medical imaging analyses. -
Use Rotatable Crosshairs: The crosshairs tool (hotkey
R) lets you jump to the same position across views and activate oblique planes for advanced visualization.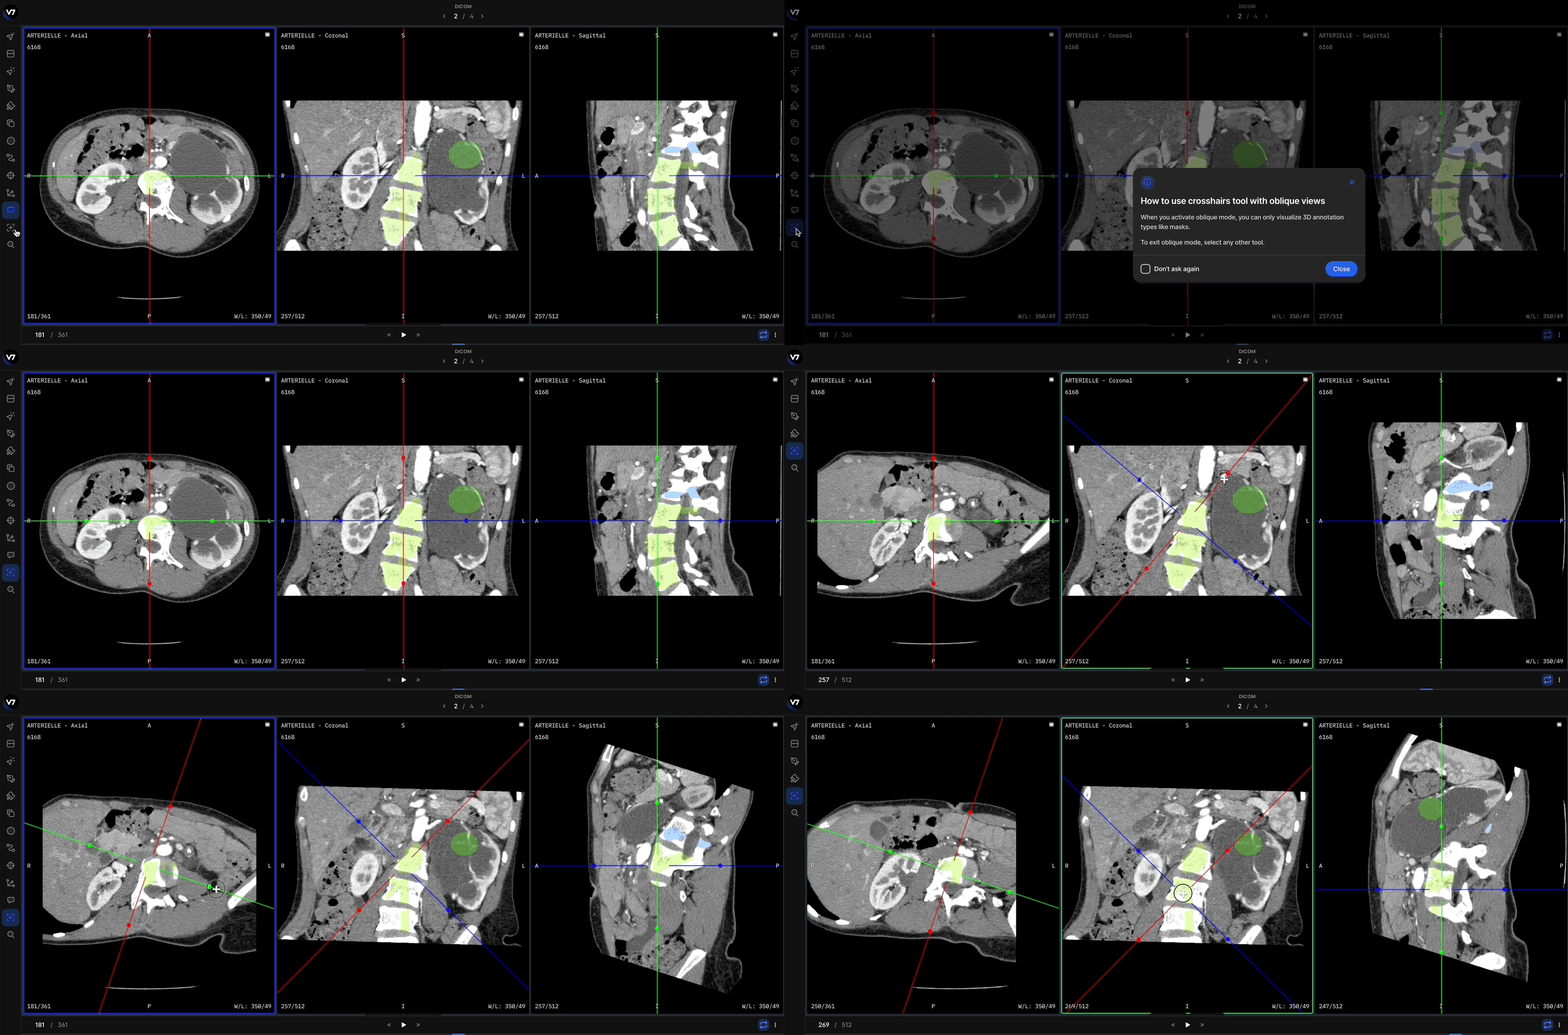
Converting Polygons to Masks
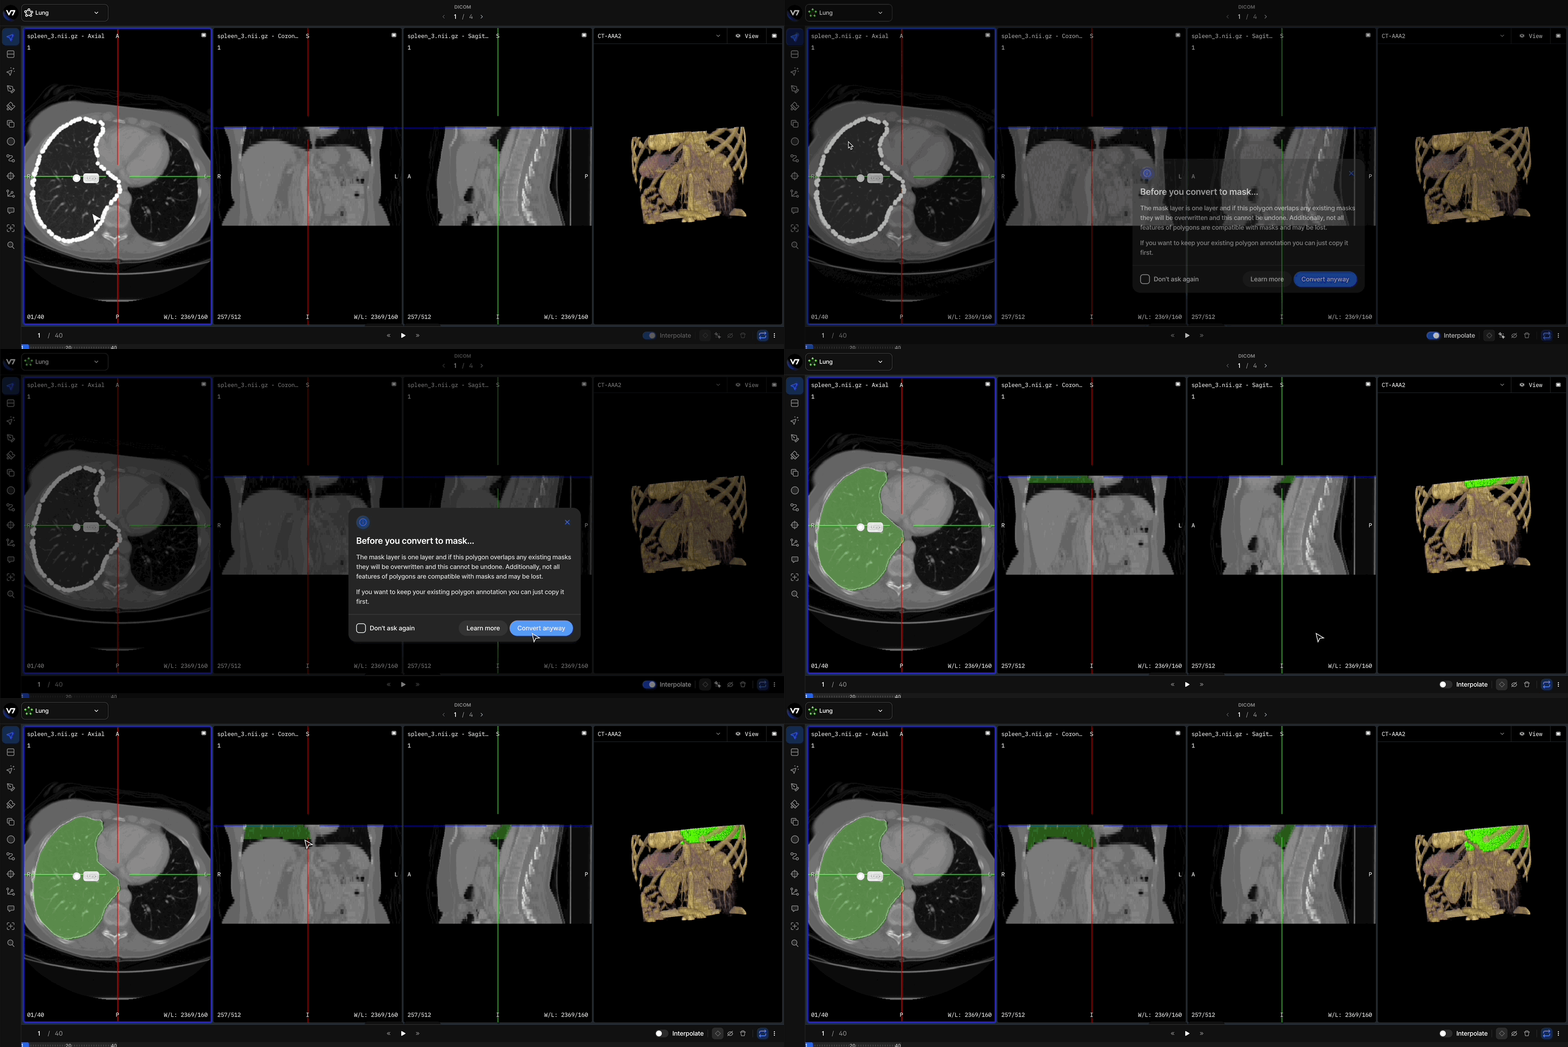
If you have imported polygon annotations and wish to use them in 3D, convert them into masks. Polygons are not usable for 3D analysis, but converting them ensures full compatibility with volumetric tools.
Annotating Multiple Studies or Multimodal Imaging
Visualizing Multiple Series
-
Upload and Manage Multiple Series: Upload multiple imaging series or modalities to a single item for unified visualization.
-
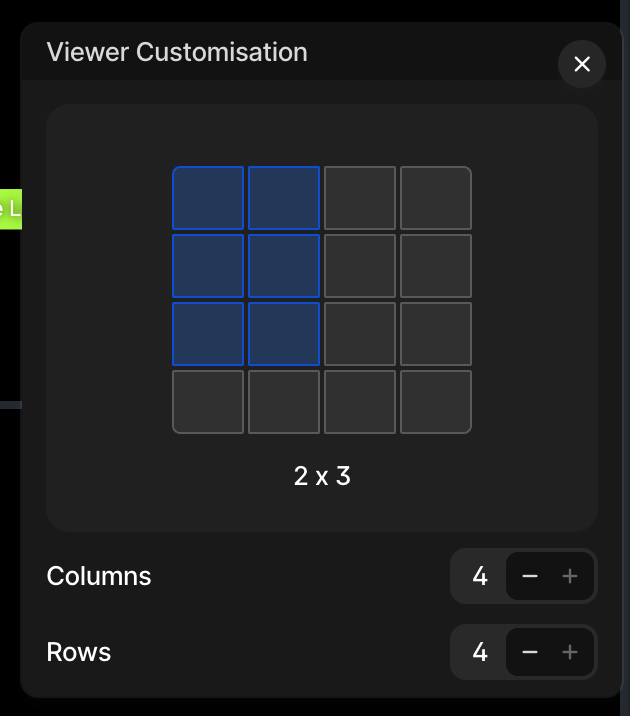
Customize Layouts for Comparison: Drag and drop different views to create custom layouts, ensuring that all critical information is visible. For instance, display axial, sagittal, coronal, and oblique views side by side.
-
Full-Screen and Minimize Options: Maximize specific views or minimize others to focus on the most relevant details during annotation.
-
Synchronize and Overlay Views: Use synchronized navigation across series to compare corresponding regions in different modalities or time points.
Bringing Models into the Loop
Enhancing Efficiency with AI
-
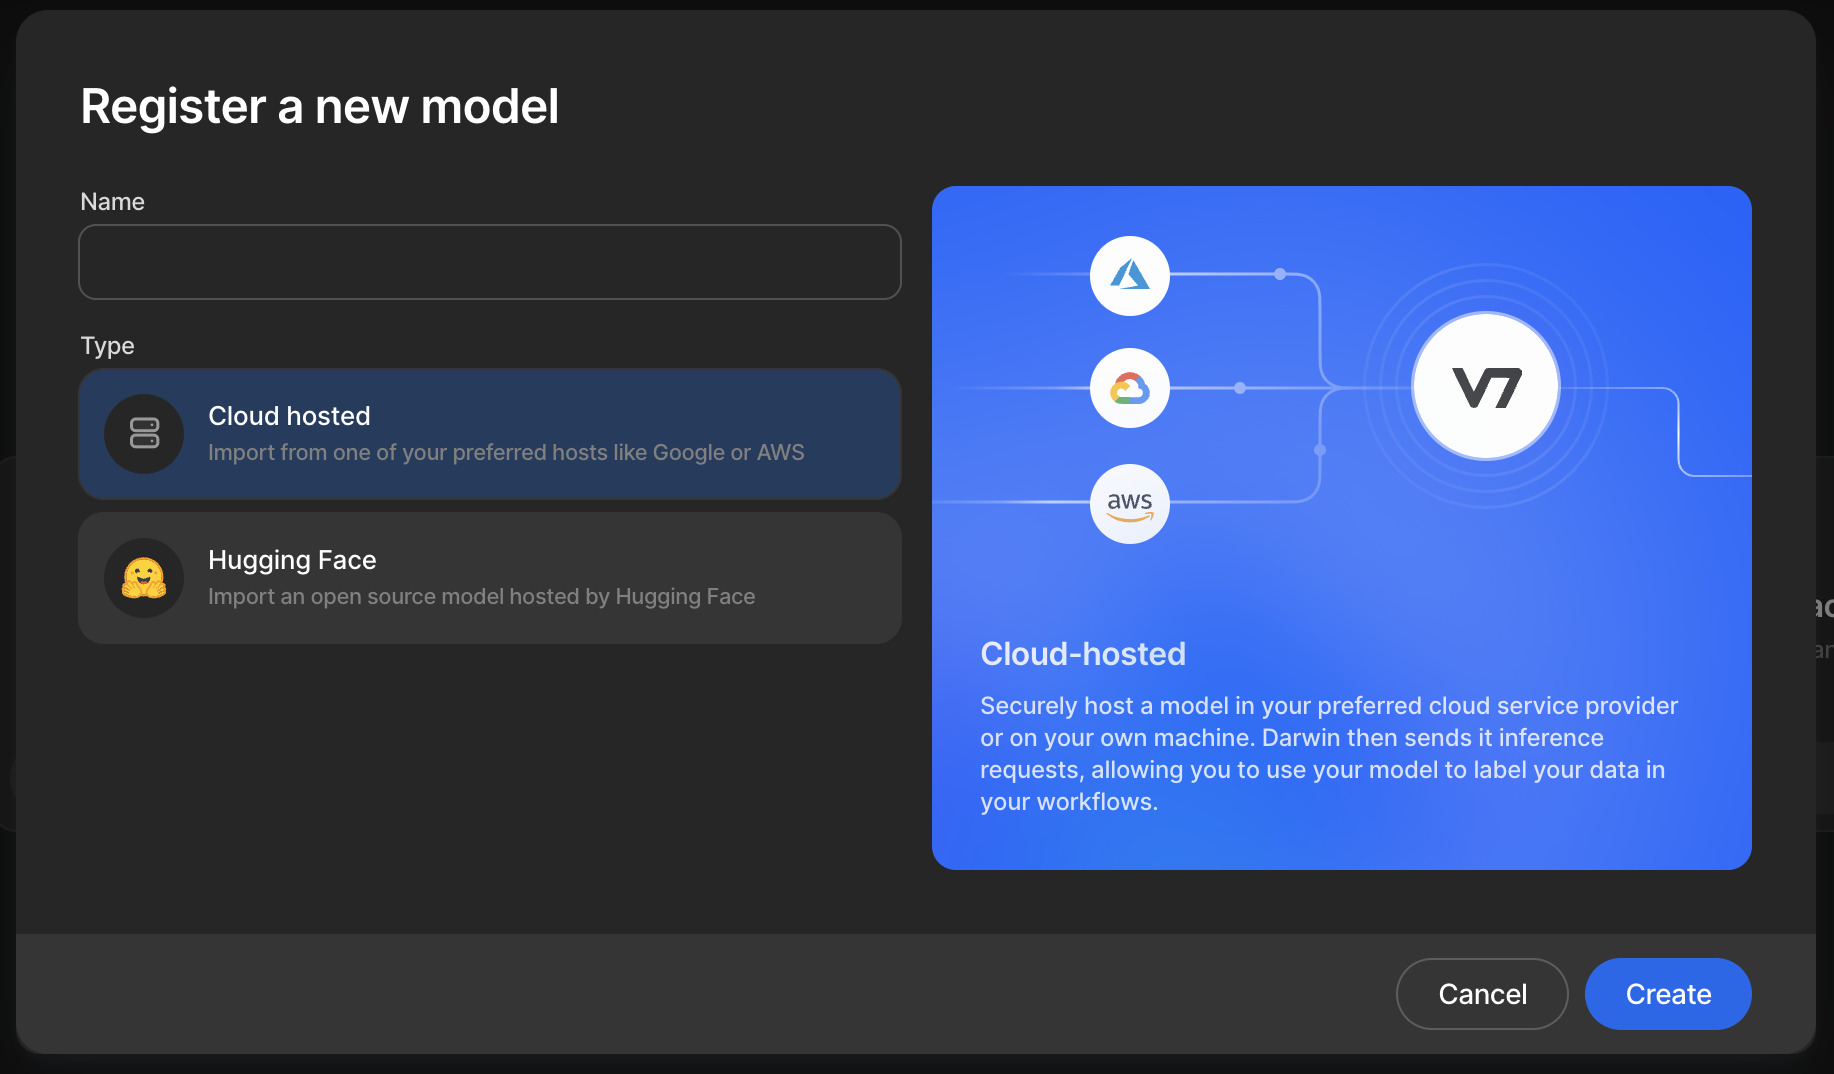
Integrate Pre-existing Models: Upload pre-made annotations or connect external models to accelerate the labeling process.
-
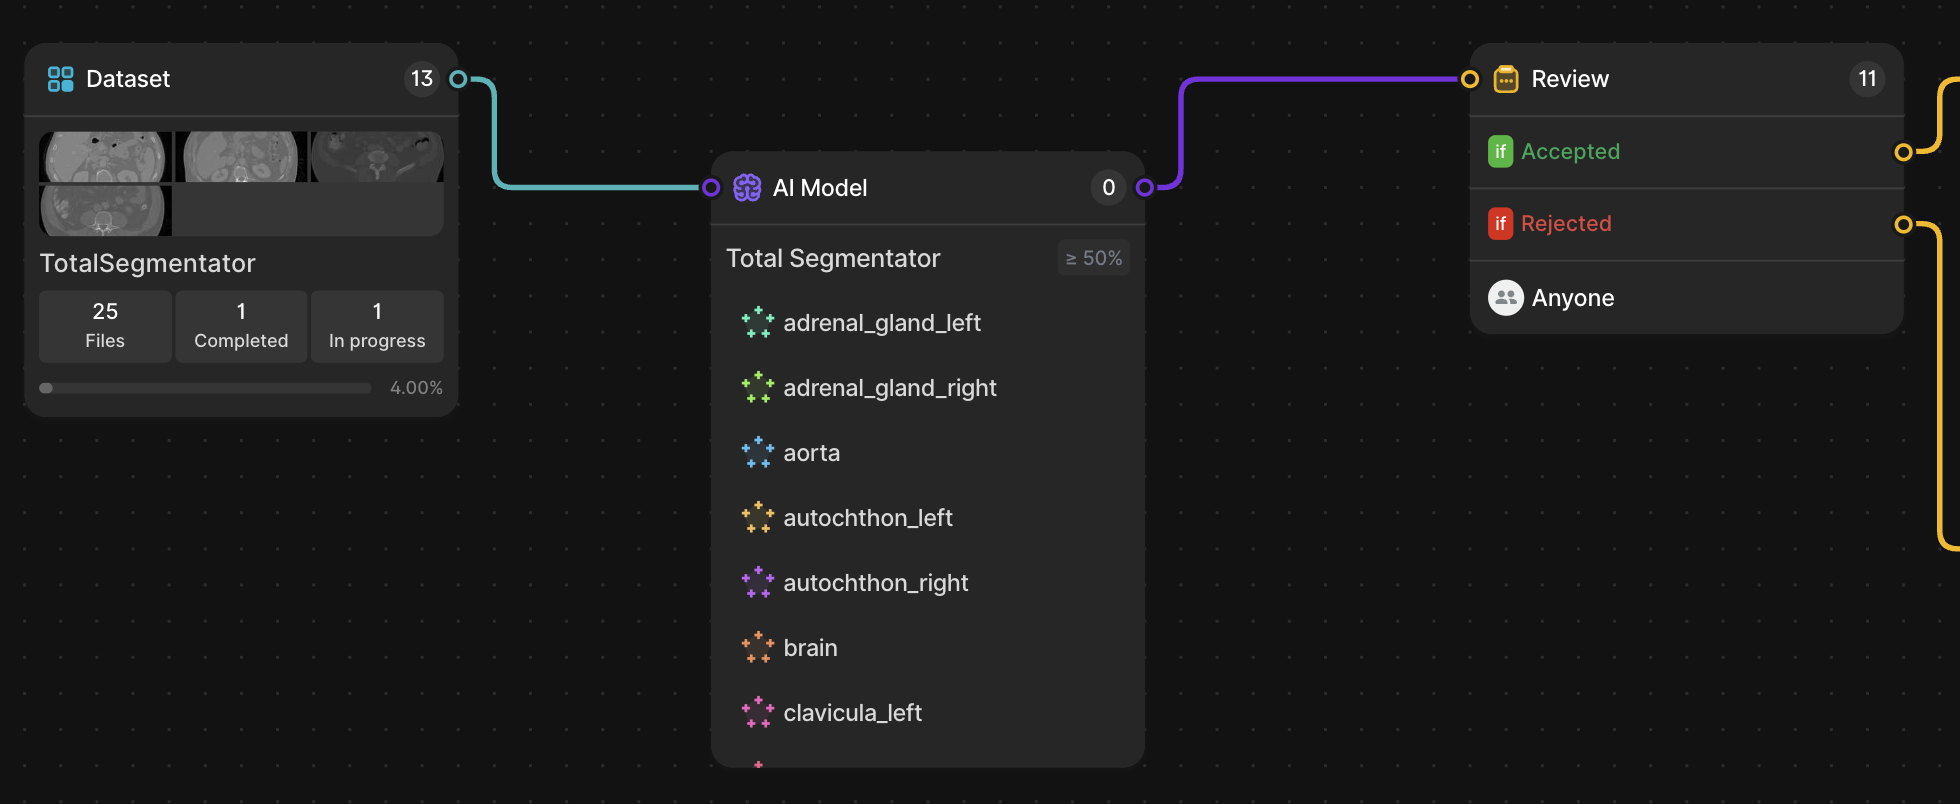
Leverage V7 Models: Utilize built-in models like TotalSegmentator to automate initial annotations. Focus on verification and minor adjustments instead of manual creation.
Helpful Tools for Medical Annotation
-
Measurement Tool: Press
Ctrl-Mto toggle measurements in metric units, particularly useful for DICOM and NIfTI files.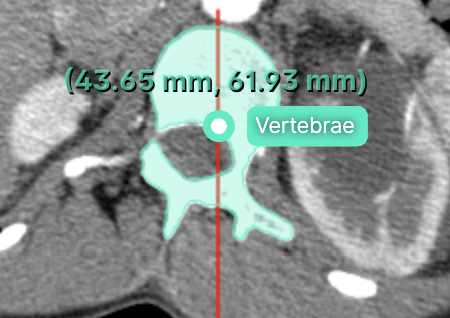
-
Adjust Visibility with Window/Level Tool: Use the
/hotkey to adjust tissue density visibility for detailed annotations.Click + Dragvertically and horizontally to adjust. -
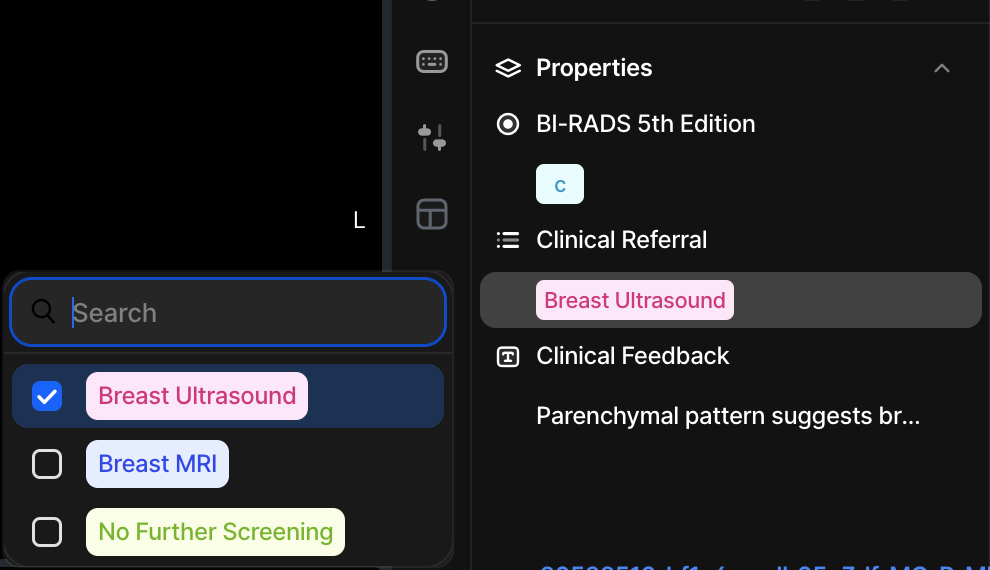
Item Properties: Annotate metadata, share DICOM header information, or add study-specific instructions using item properties to streamline workflows and communication.
-
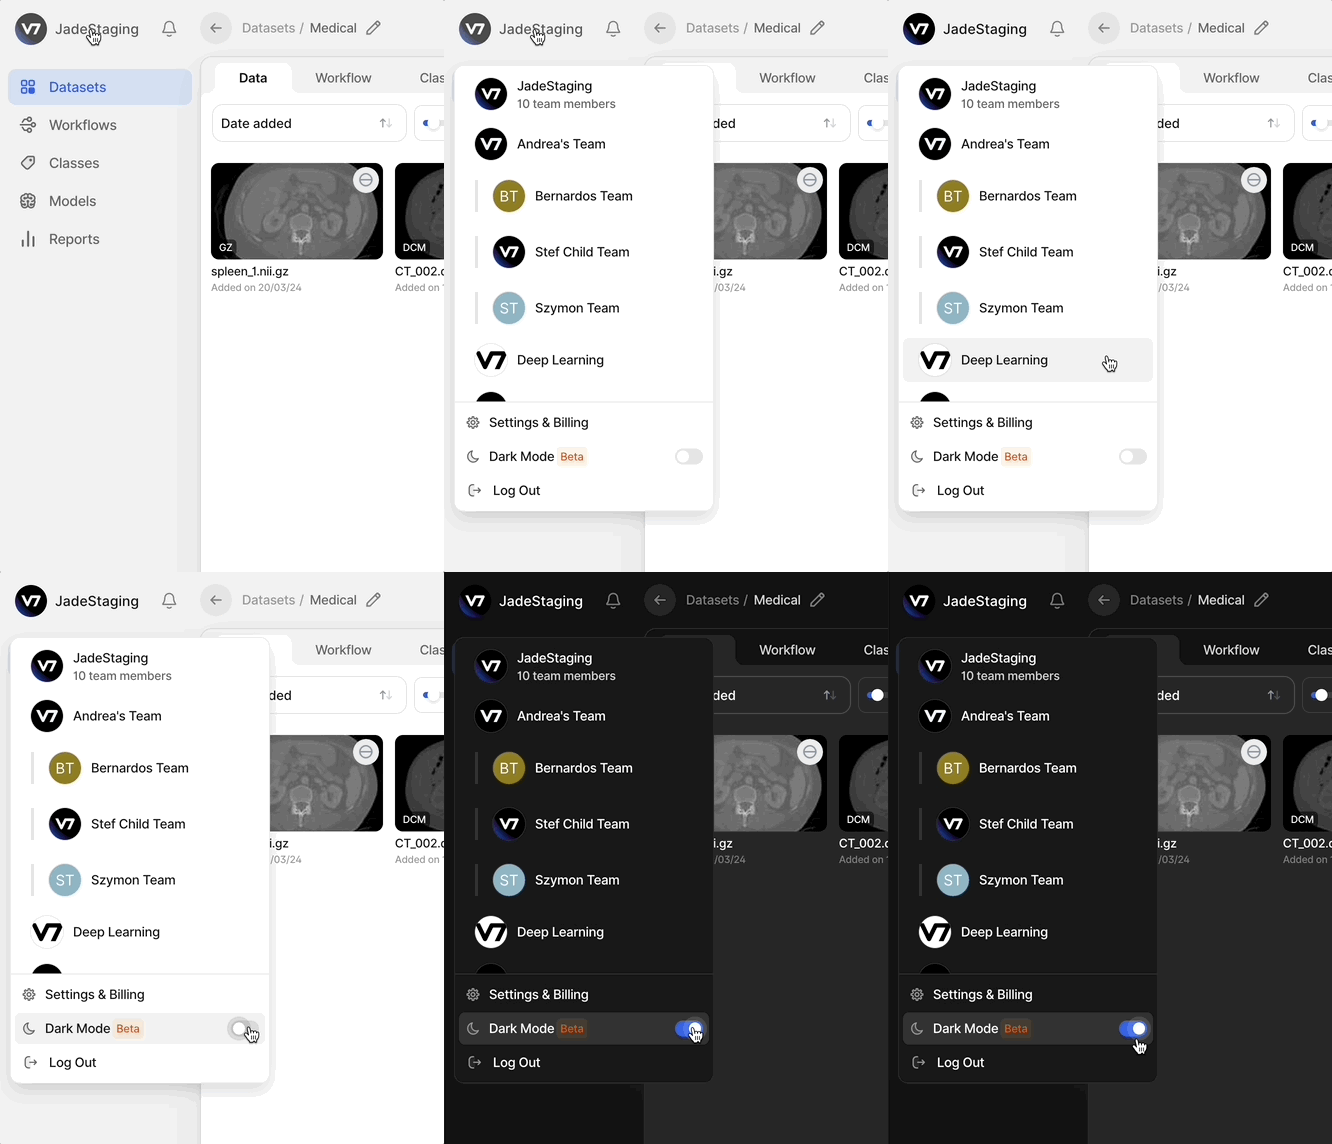
Switch to Dark Mode: Enable dark mode for a more comfortable viewing experience in low-light environments. This option can help reduce eye strain during extended annotation sessions.
Updated 5 months ago
